
 Sign In
 Create Account

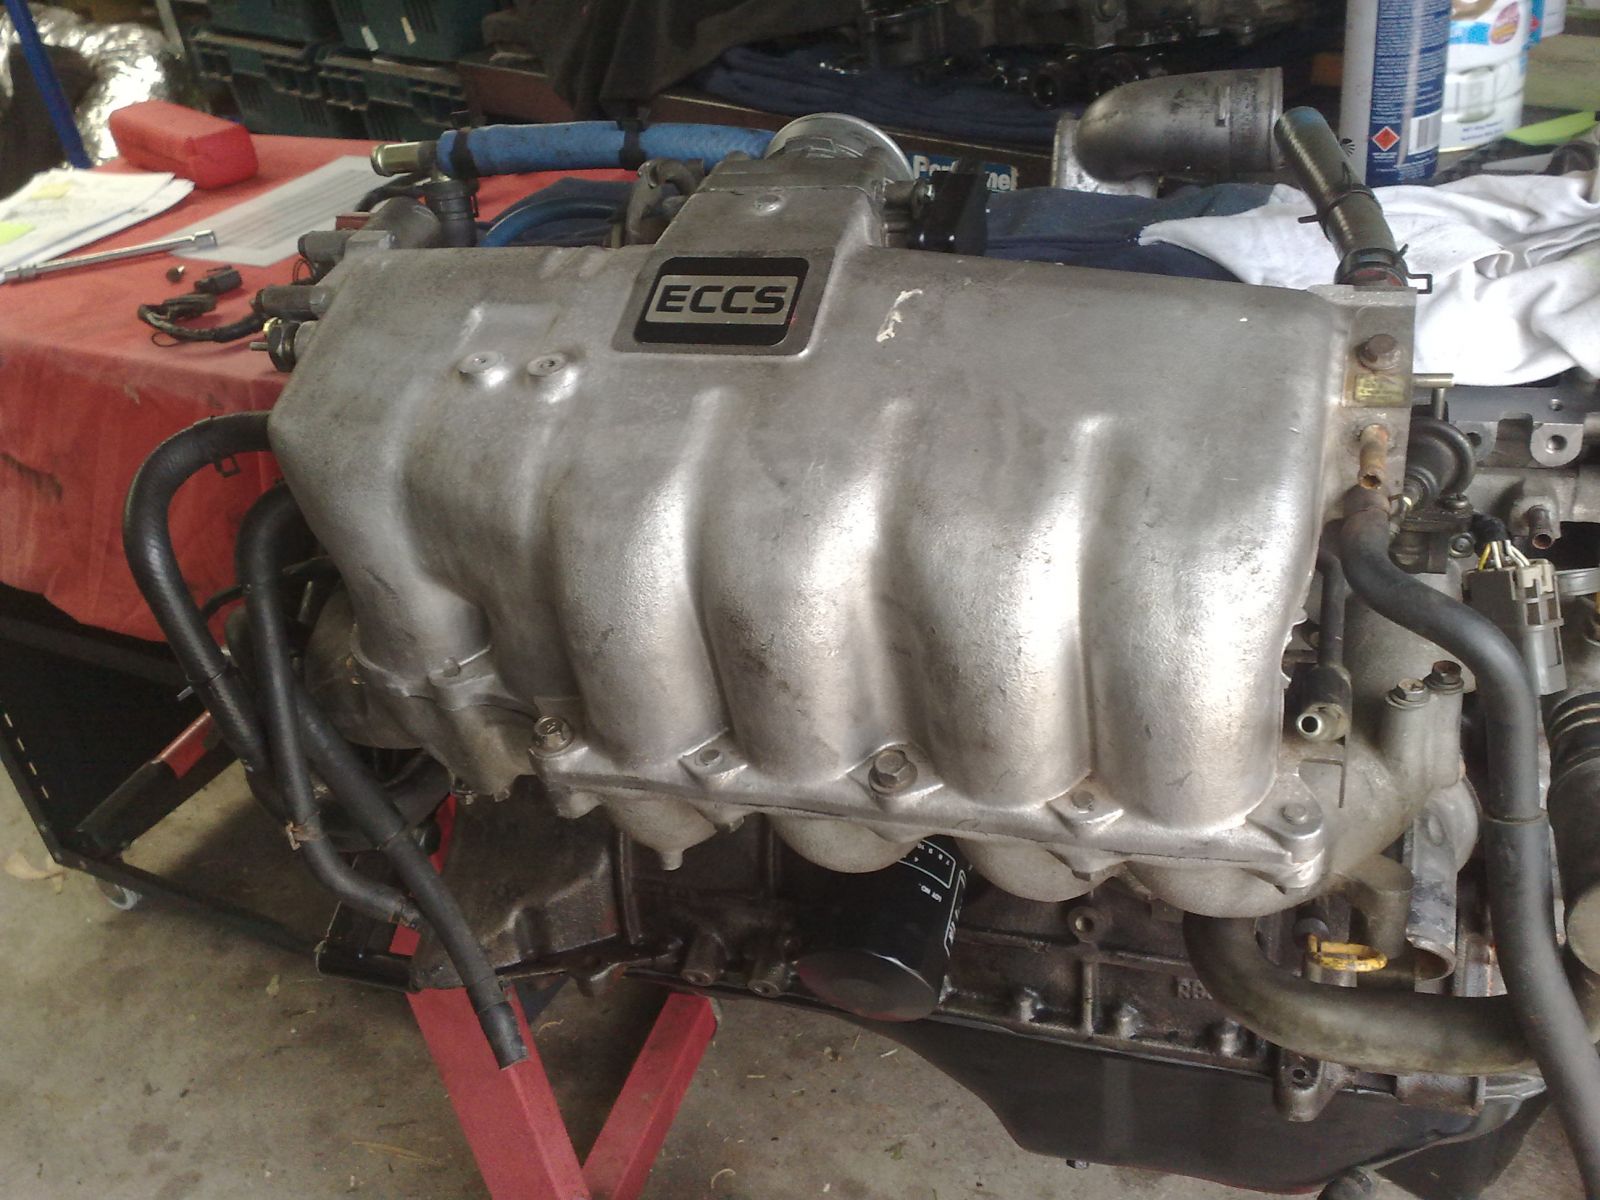
Water Lines
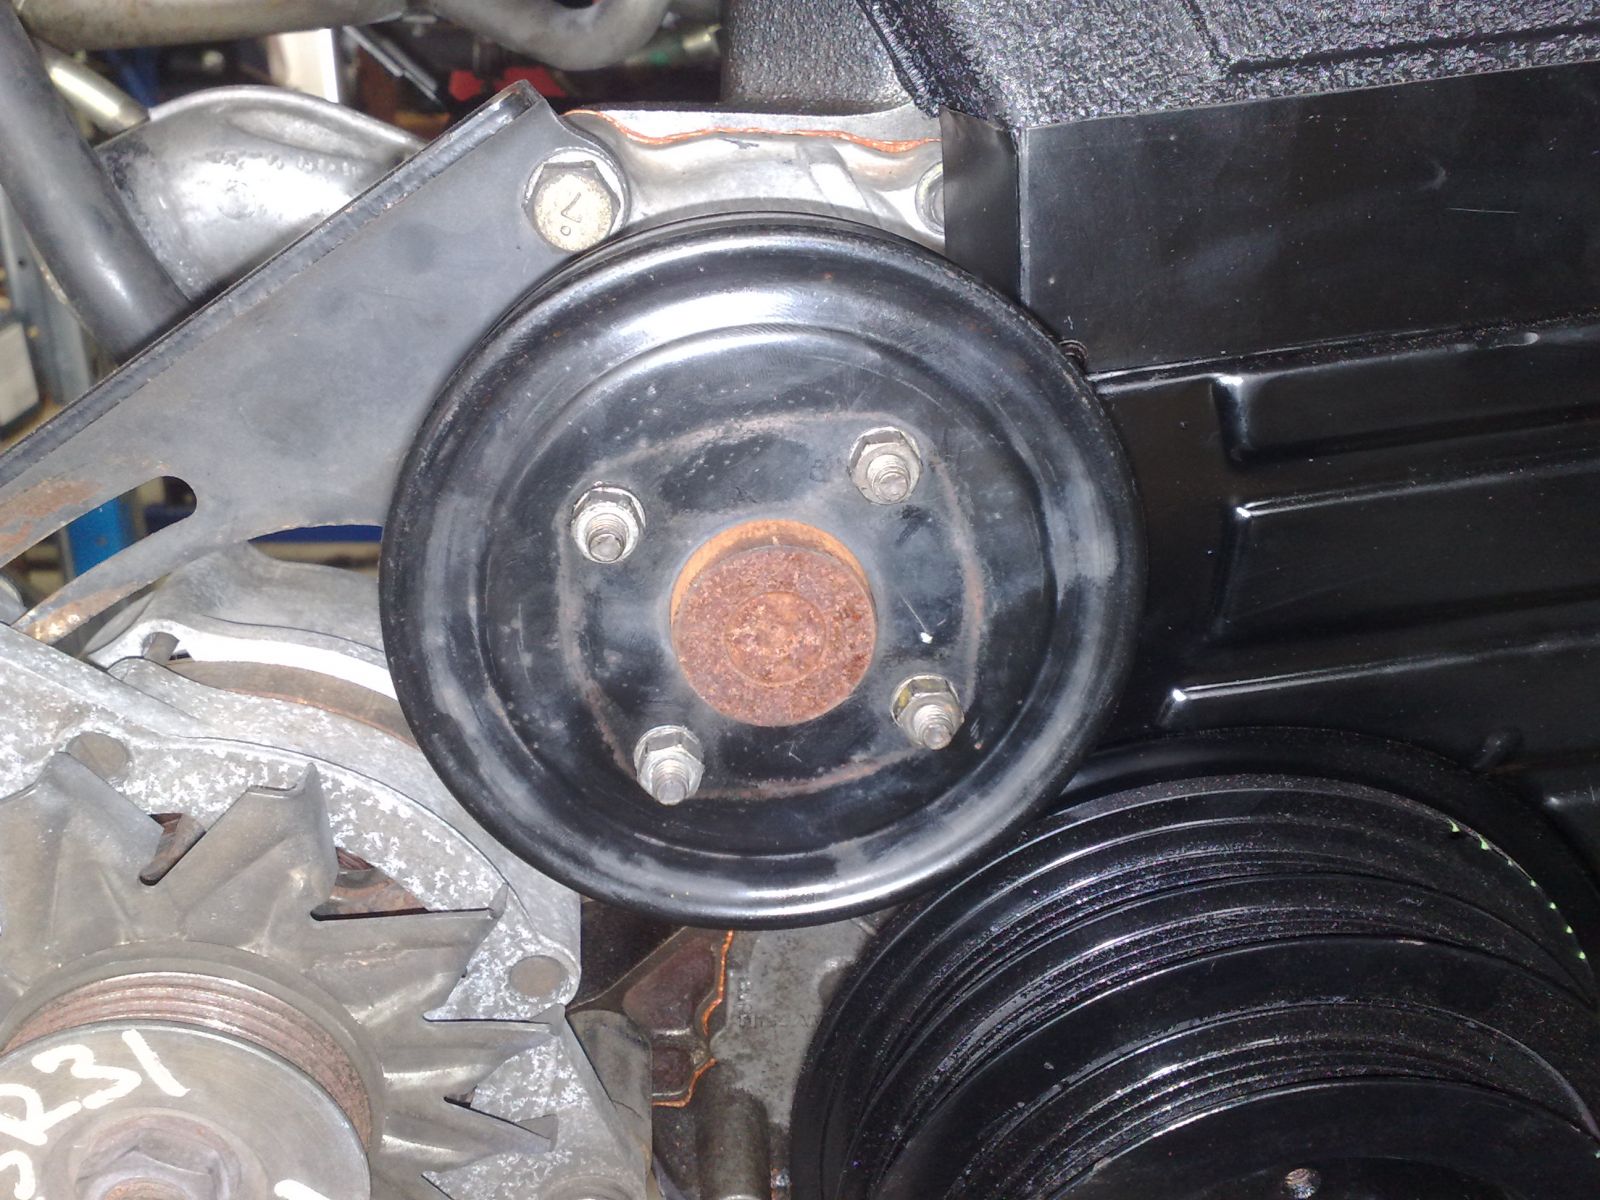
Depending on the turbo you are using, you may need to have some braided lines made up for the next step. I will be using a stock location turbo so with a little massaging, the stock lines will work with my application.
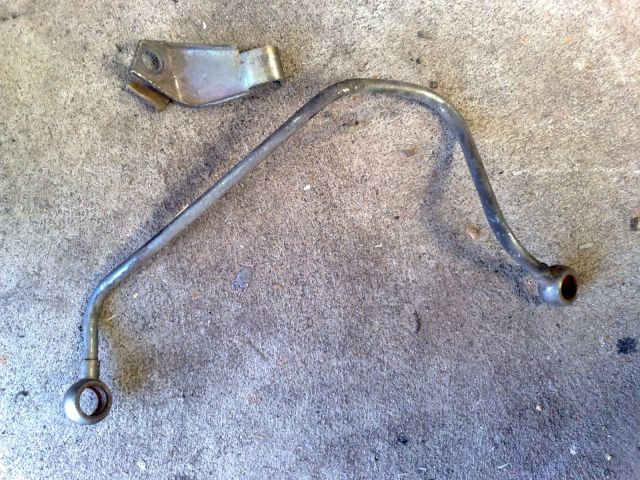
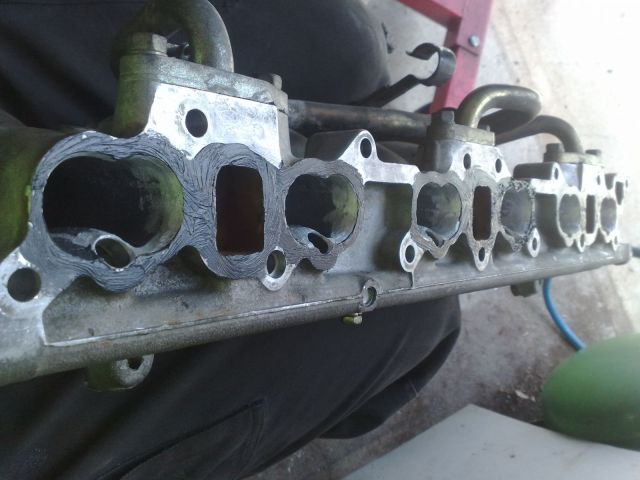
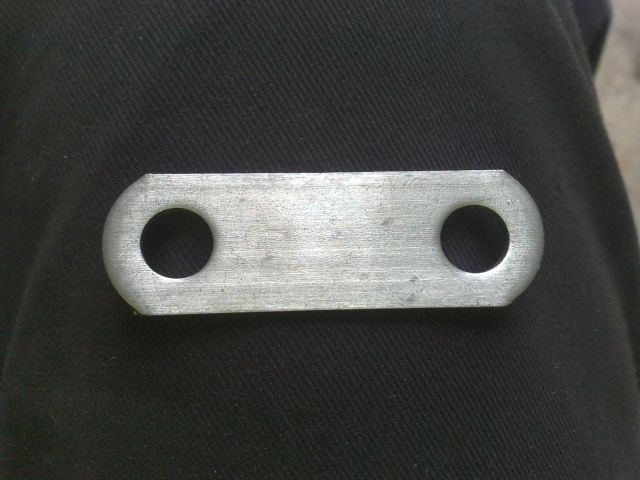
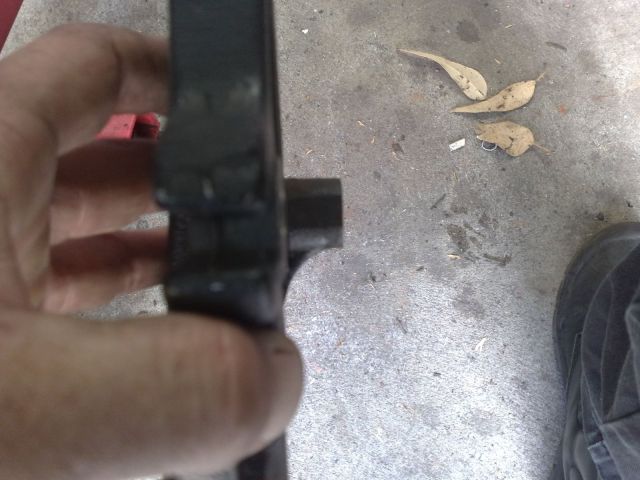
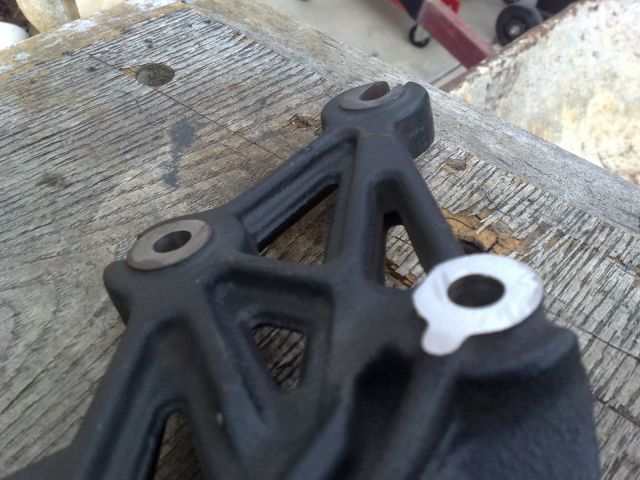
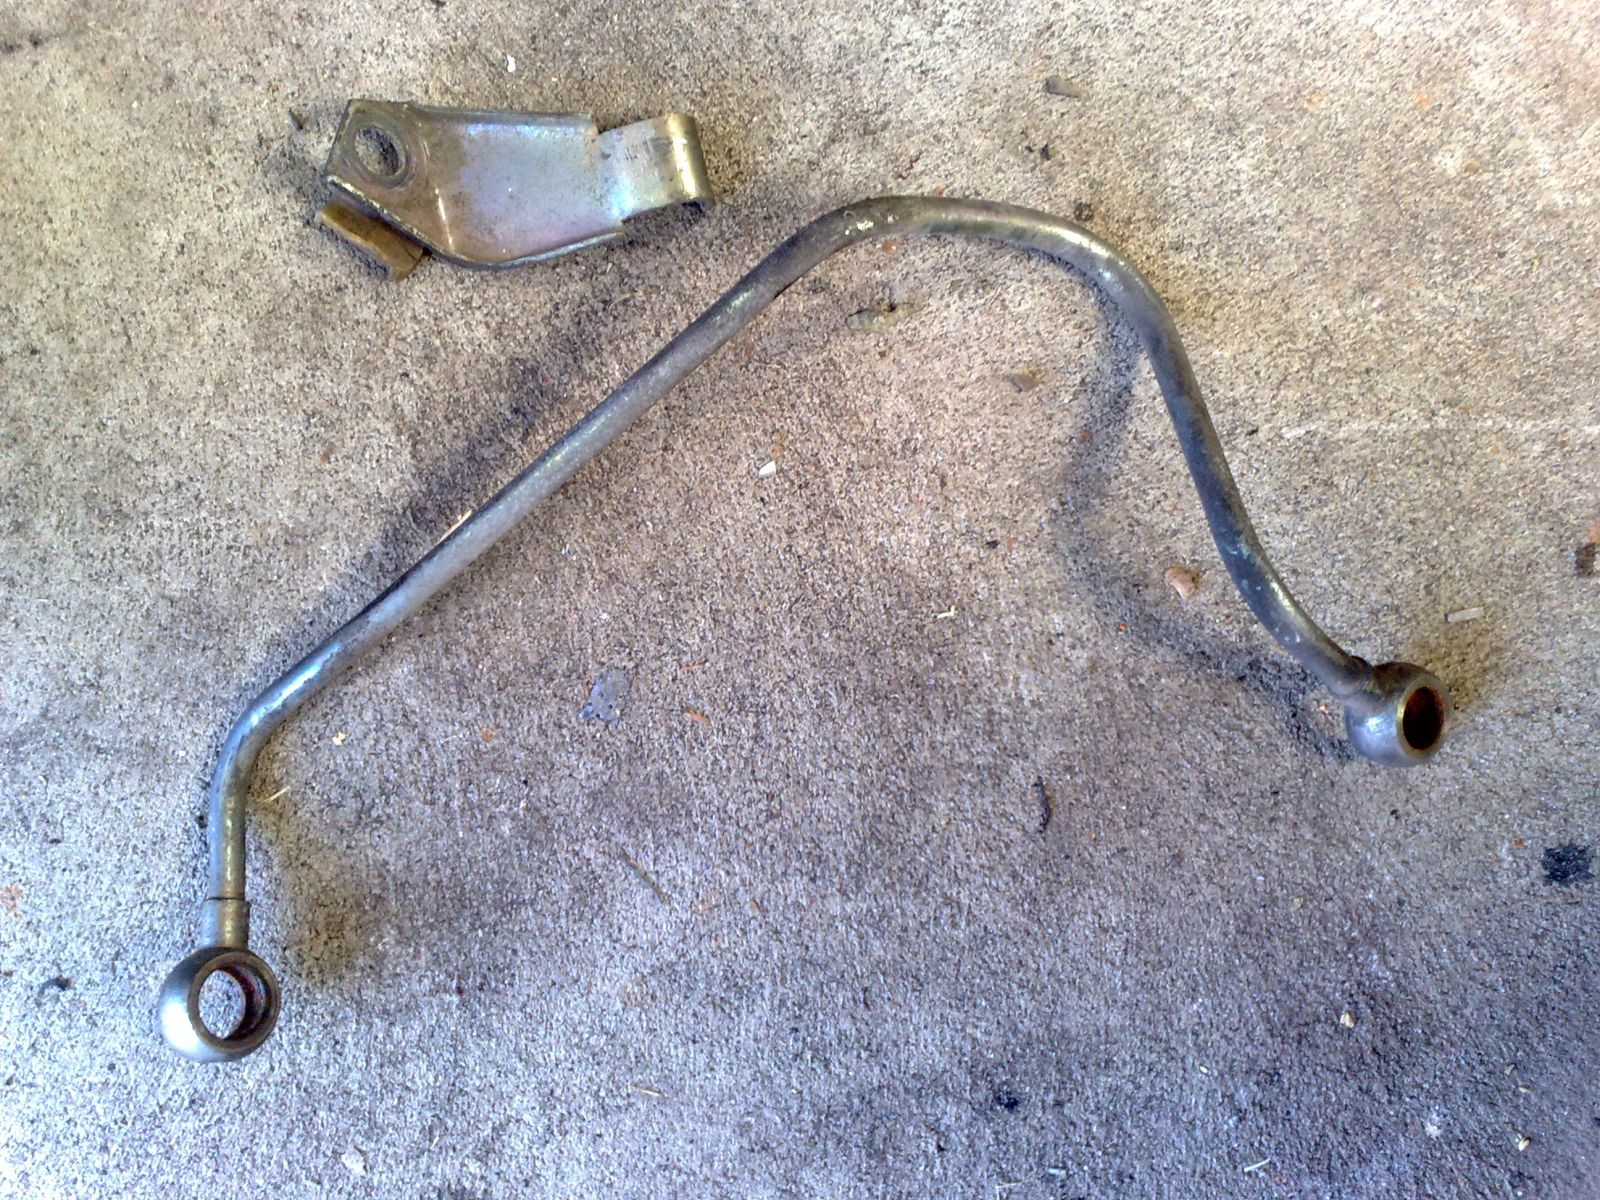
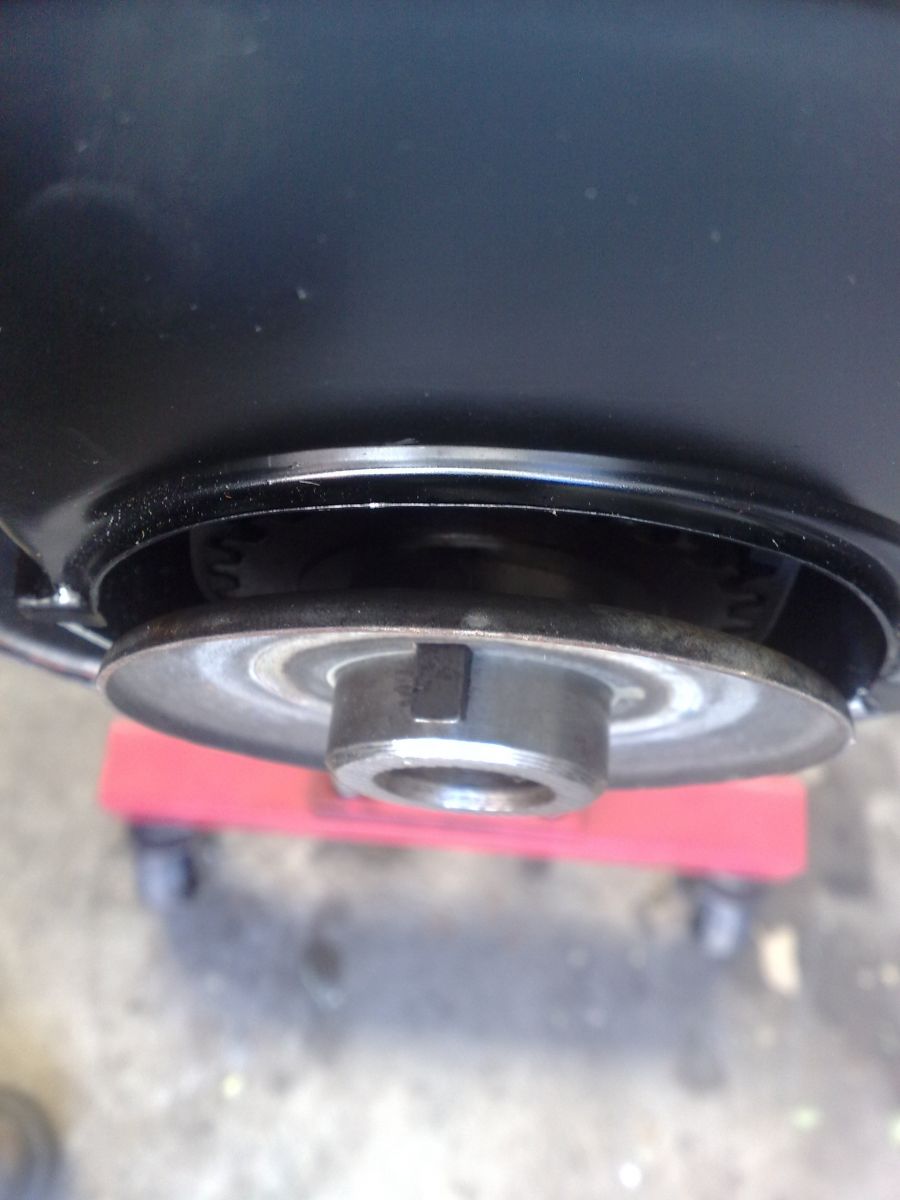
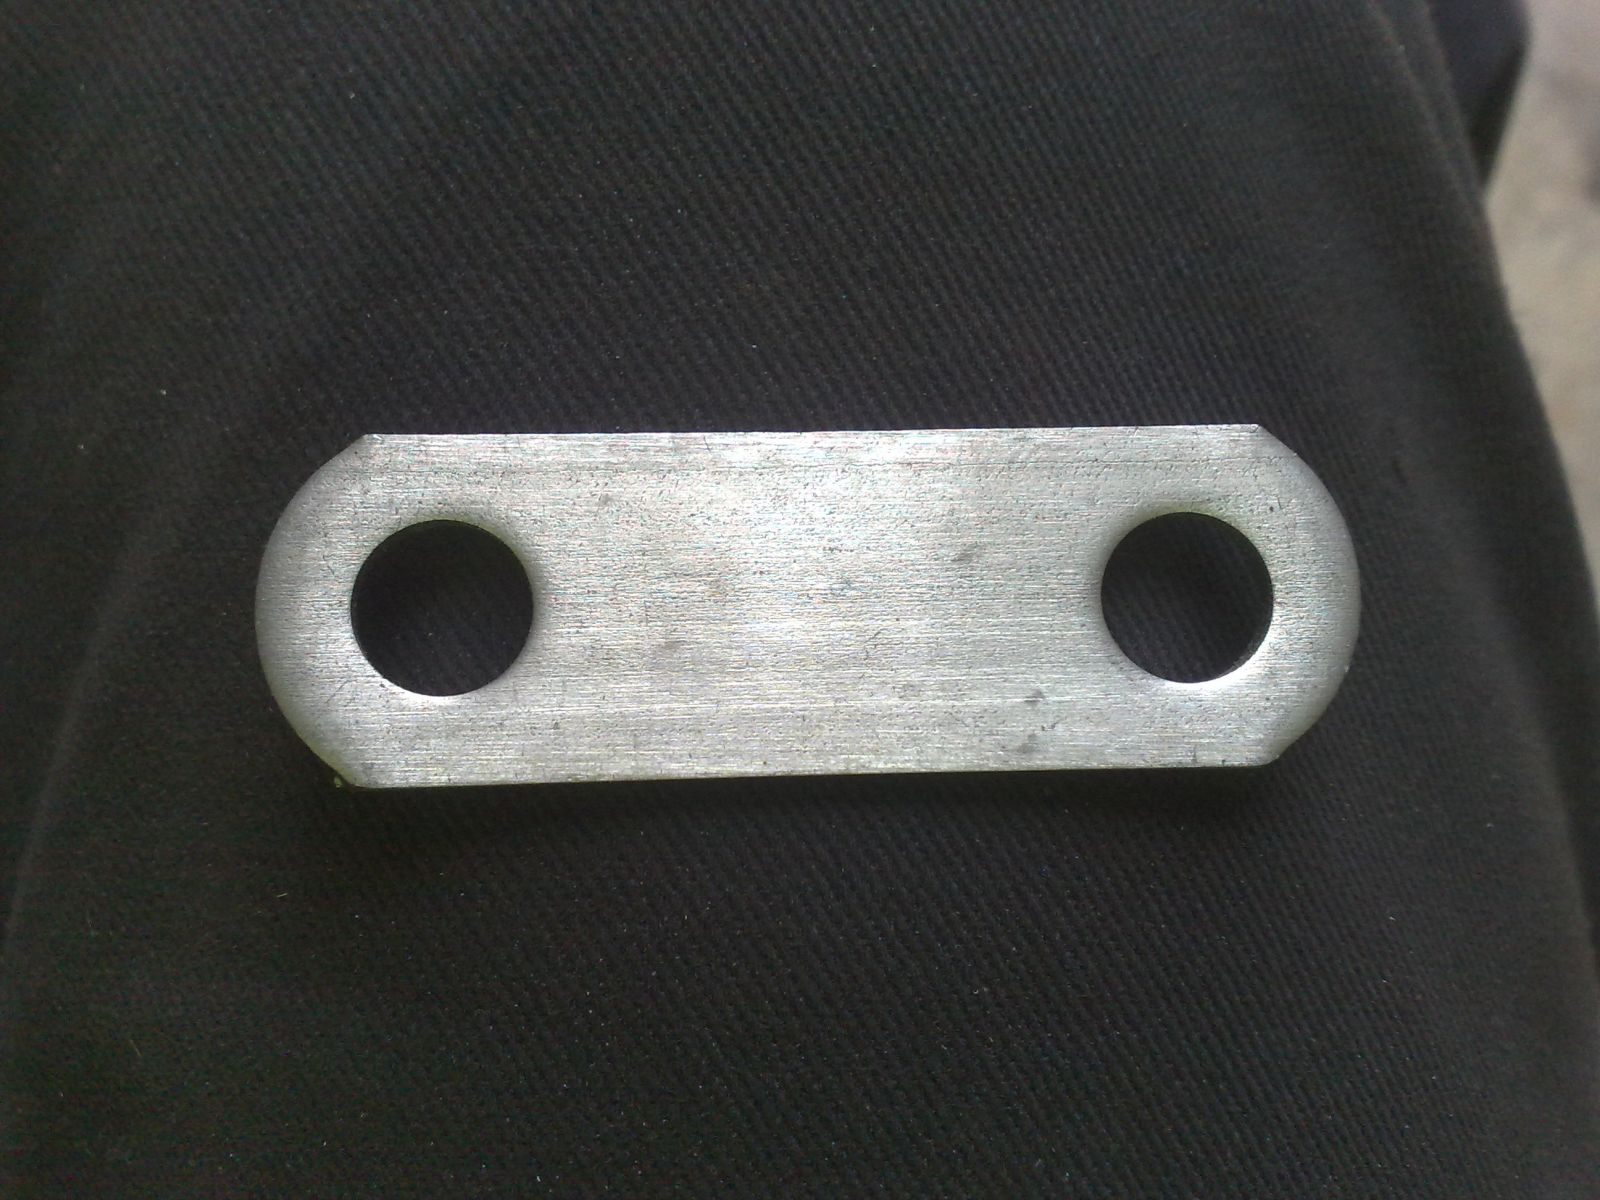
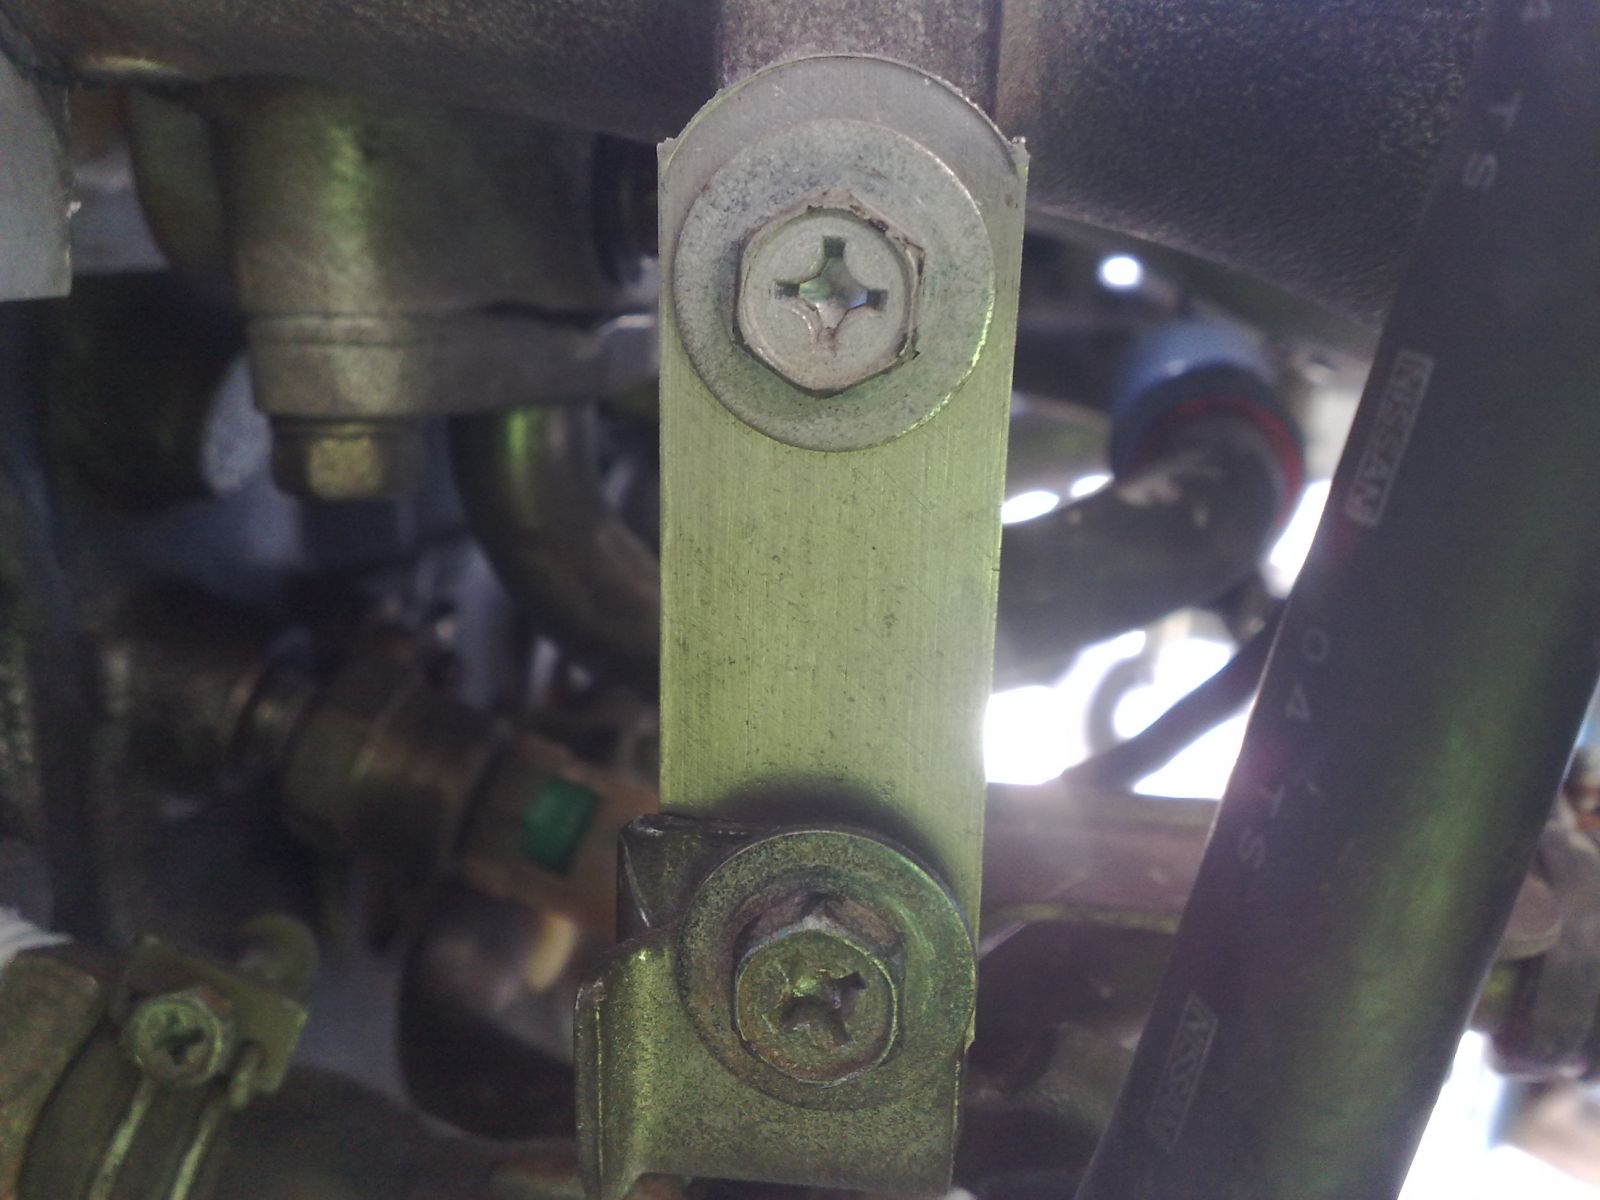
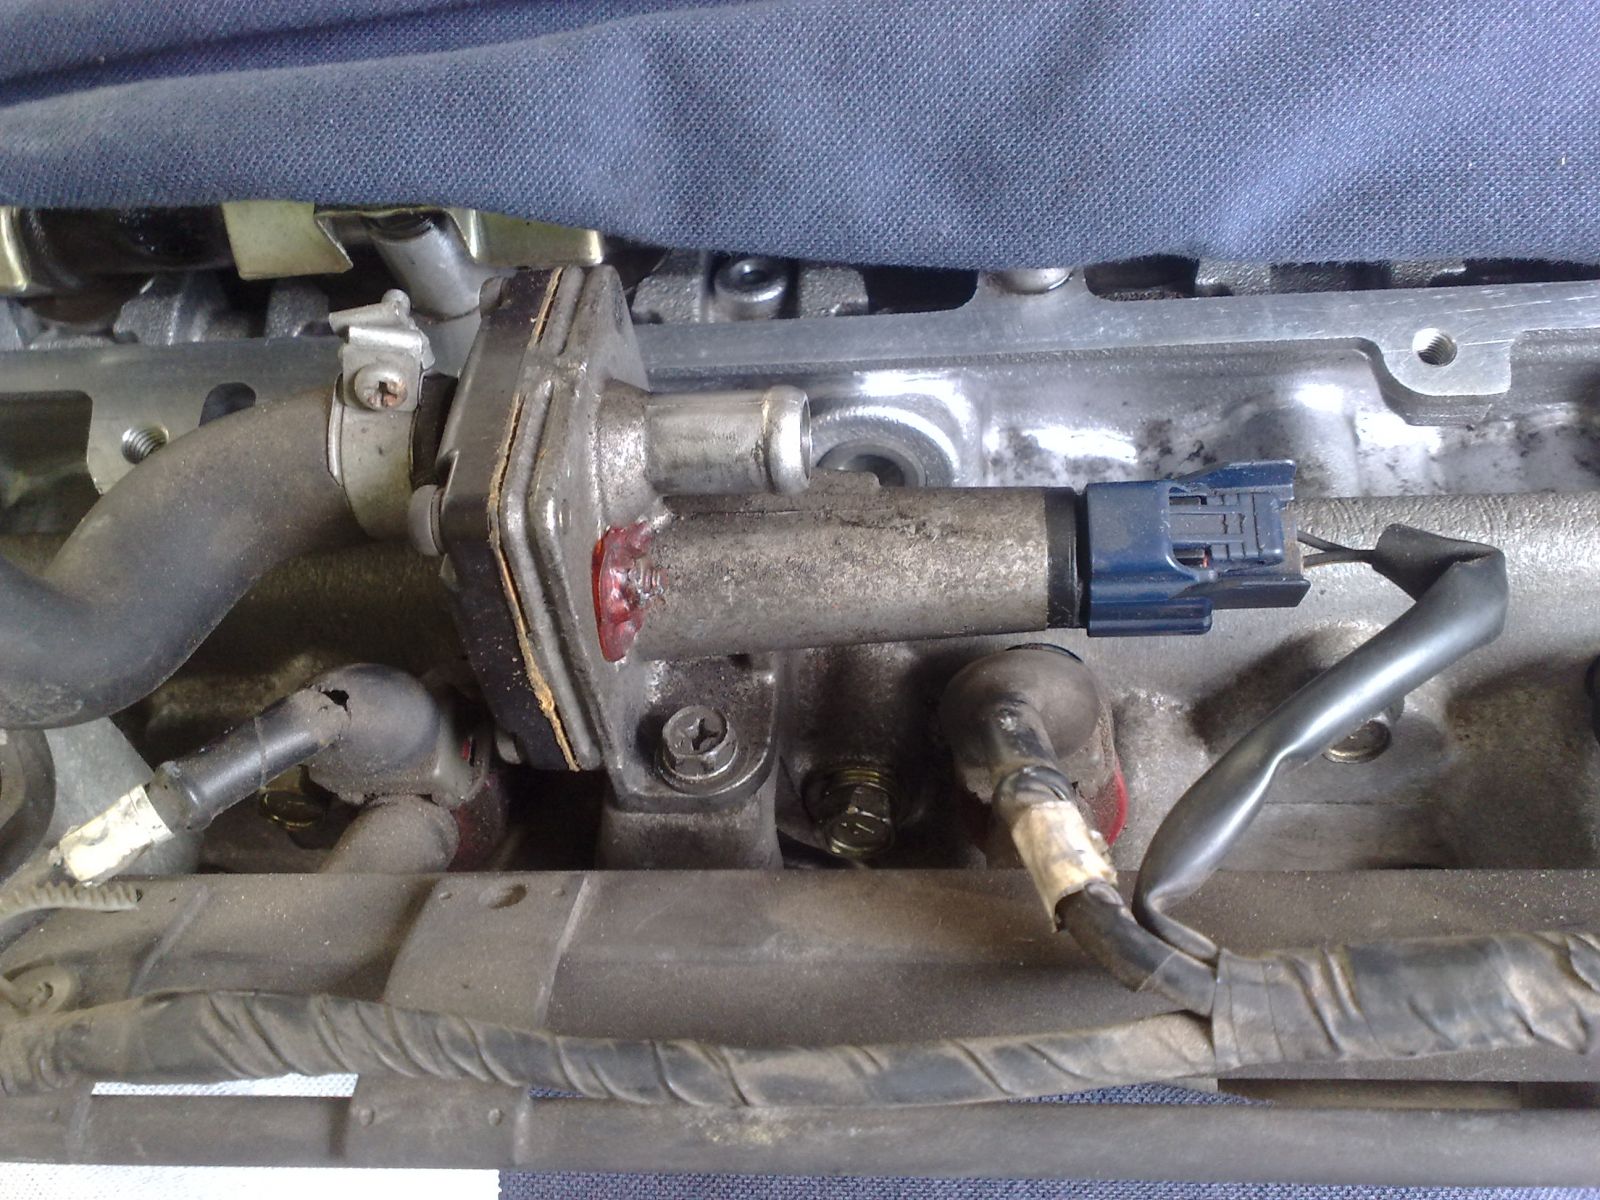
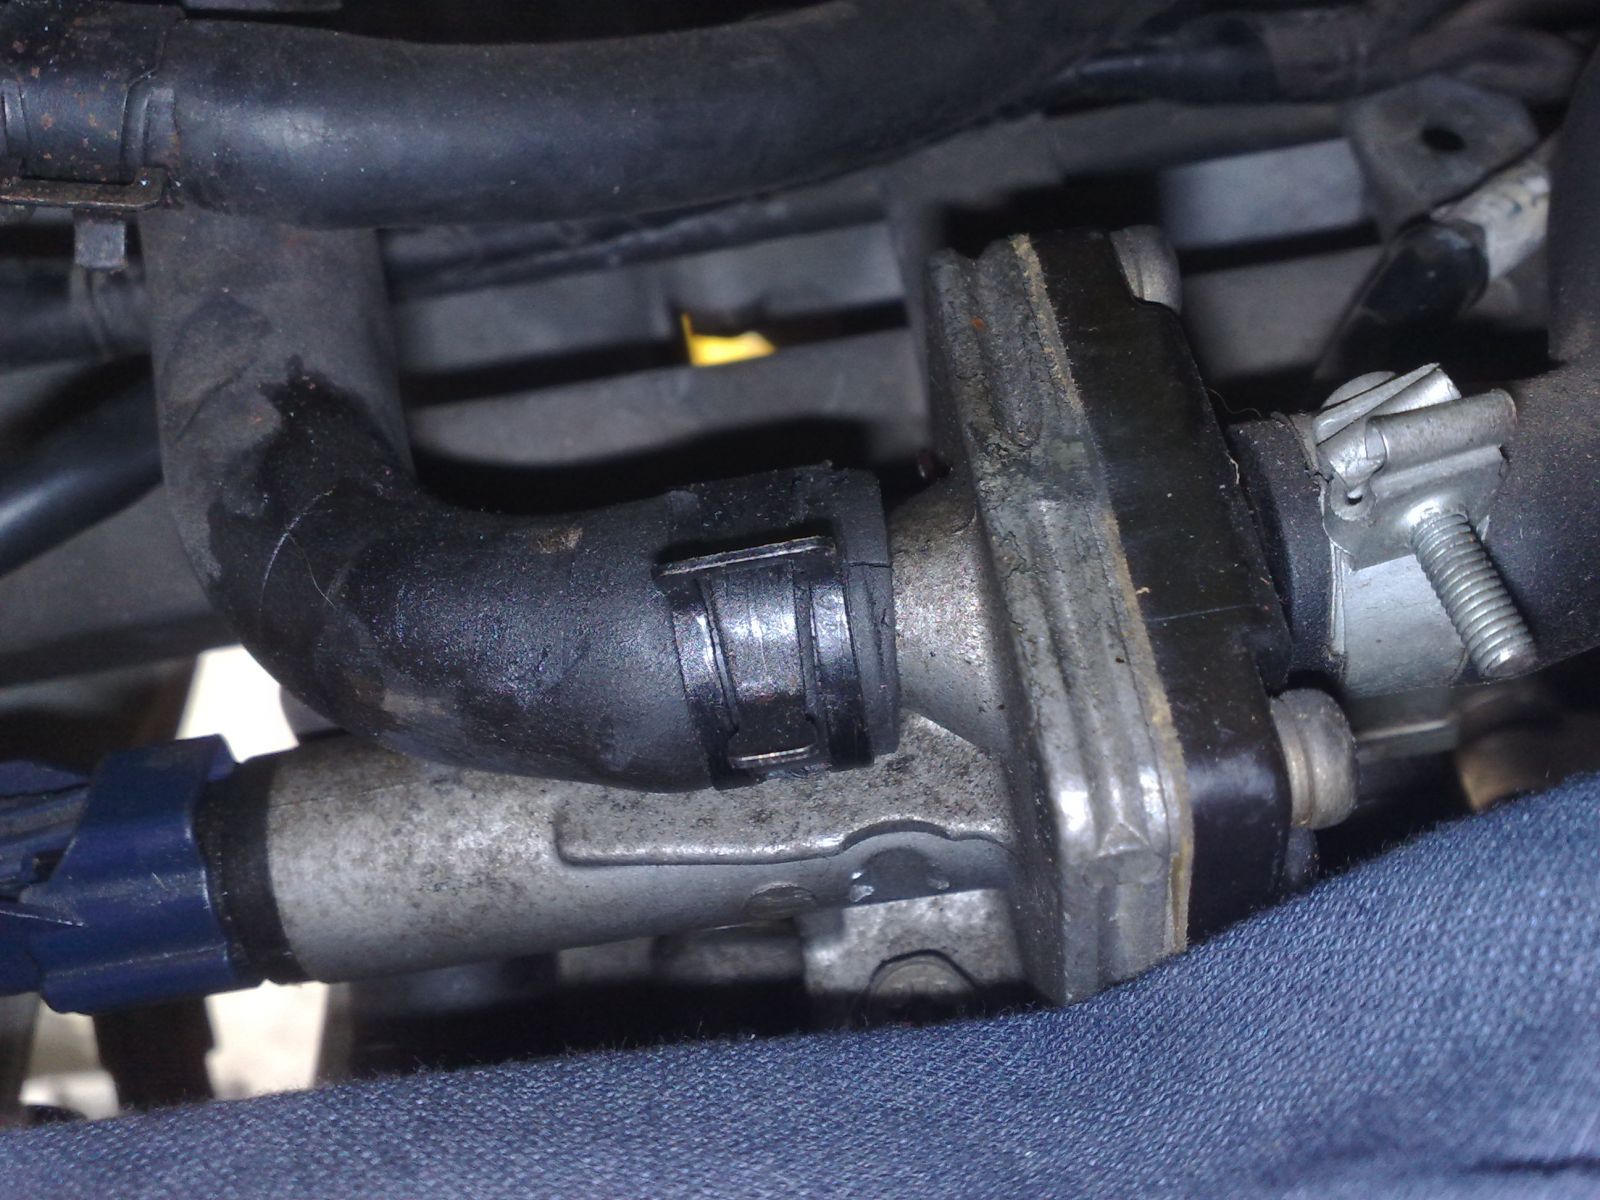
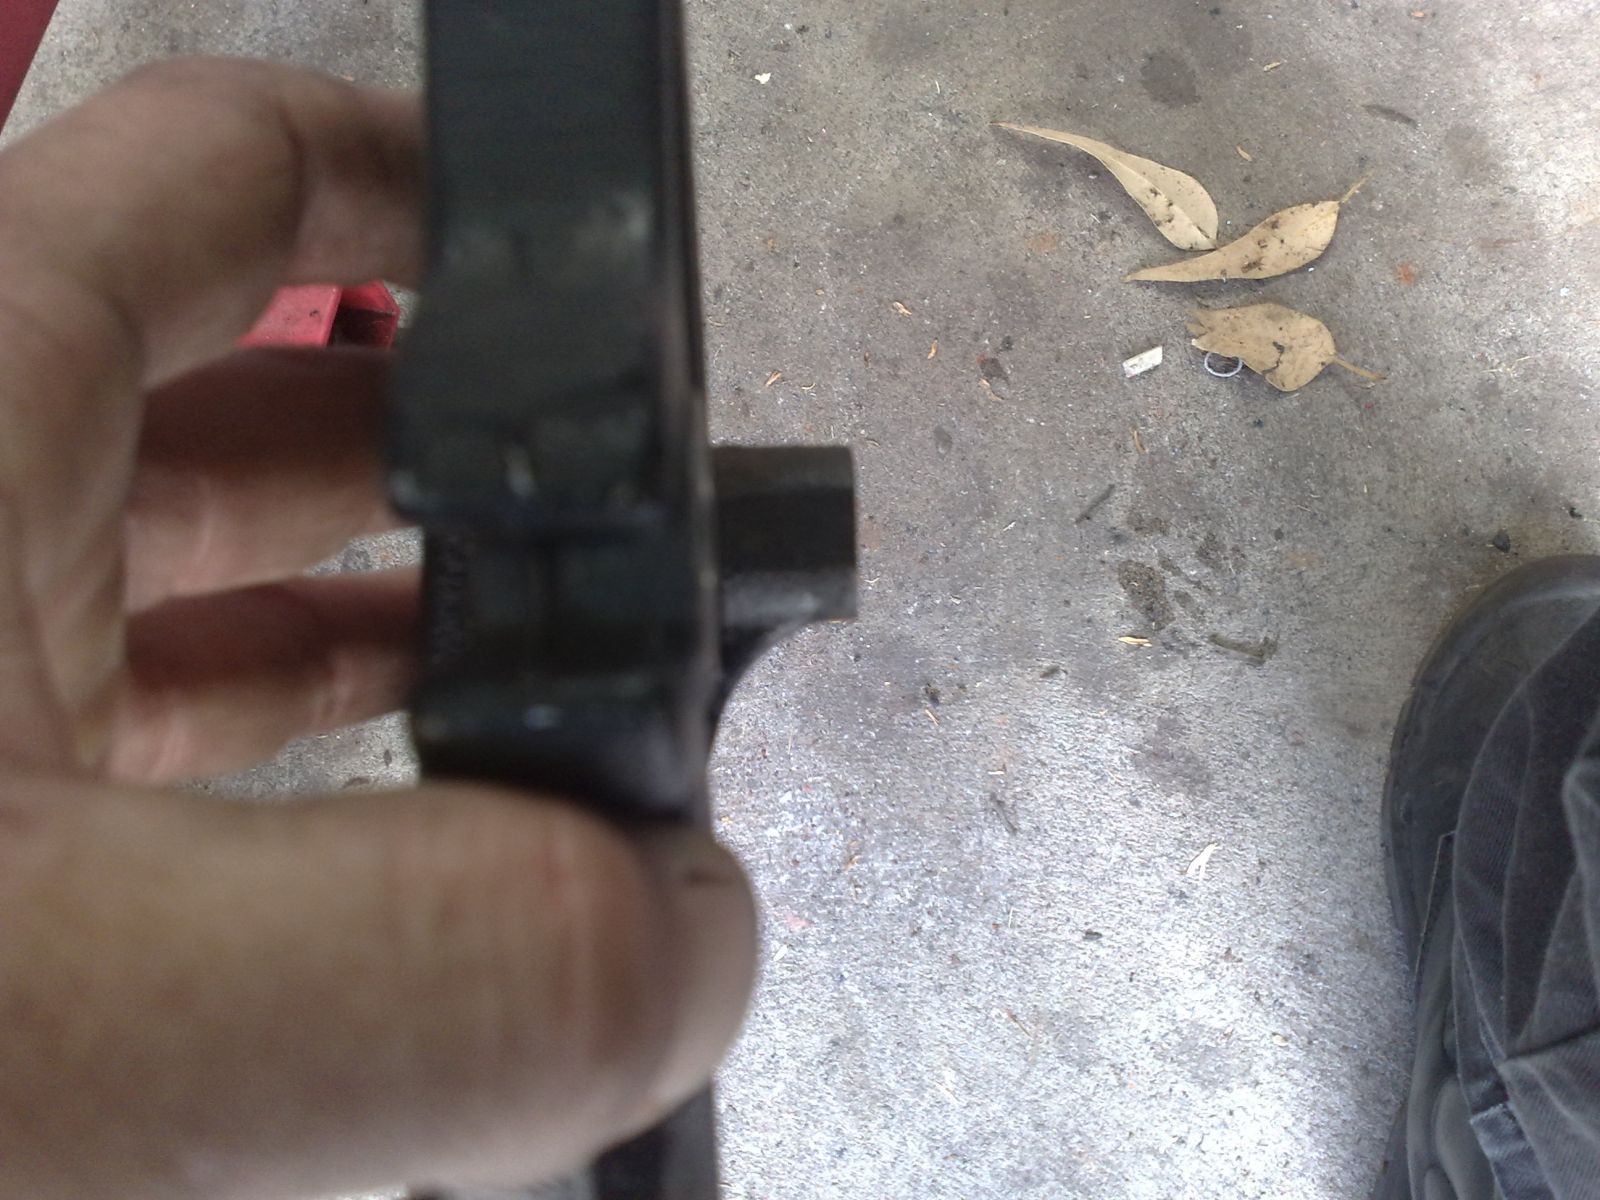
Start by removing the bracket from the water return line. Use a pair of pliers to open it up and remove the plastic bushing.
Download Full Size Image
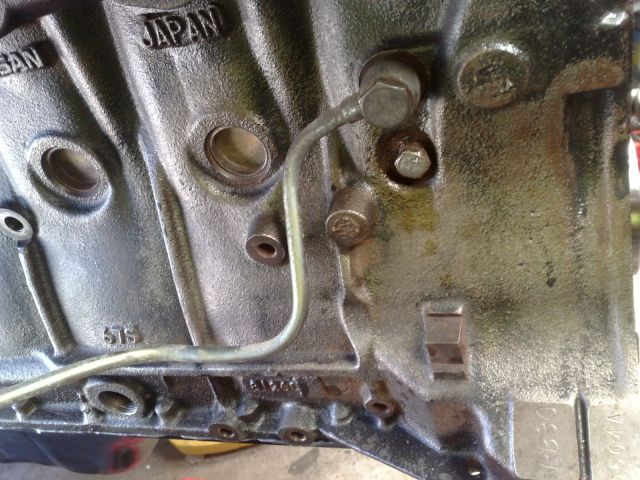
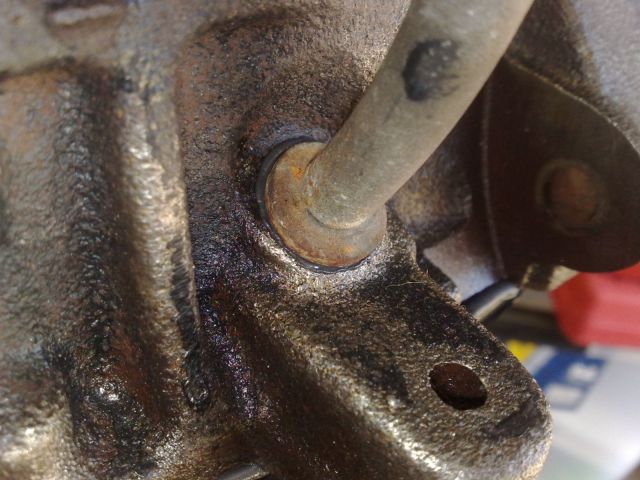
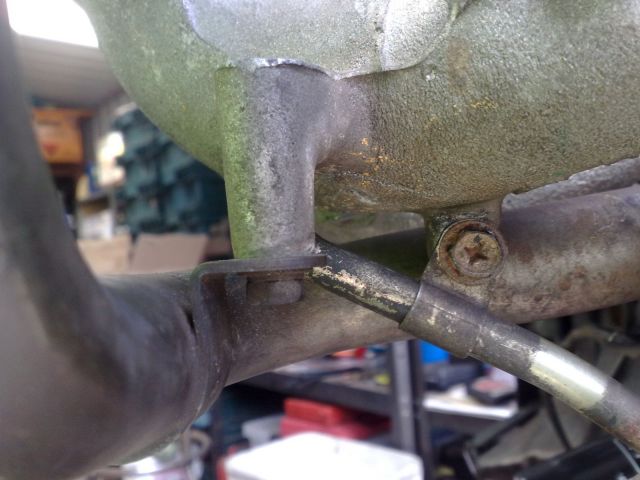
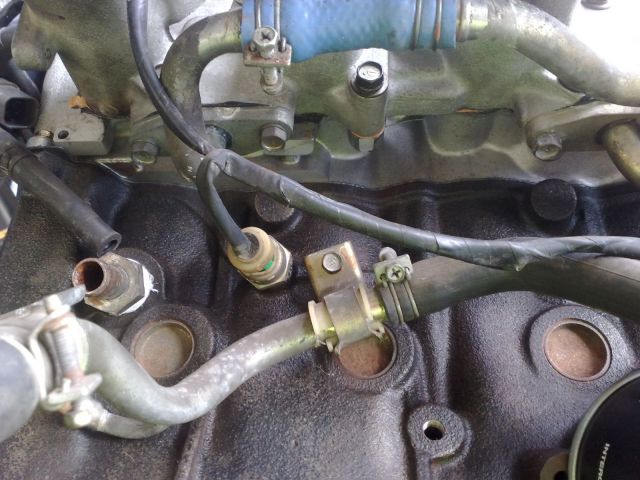
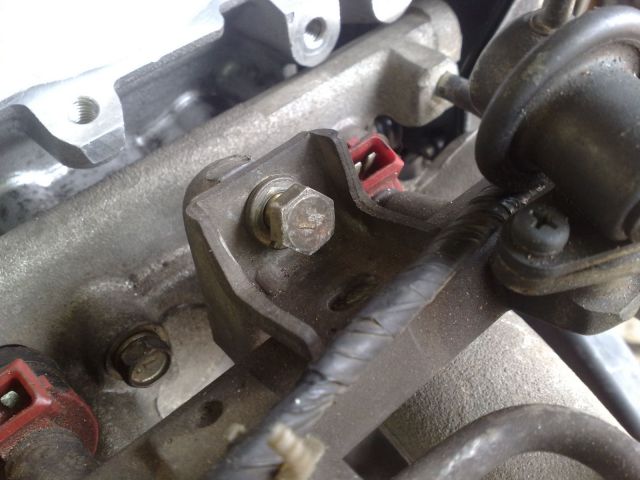
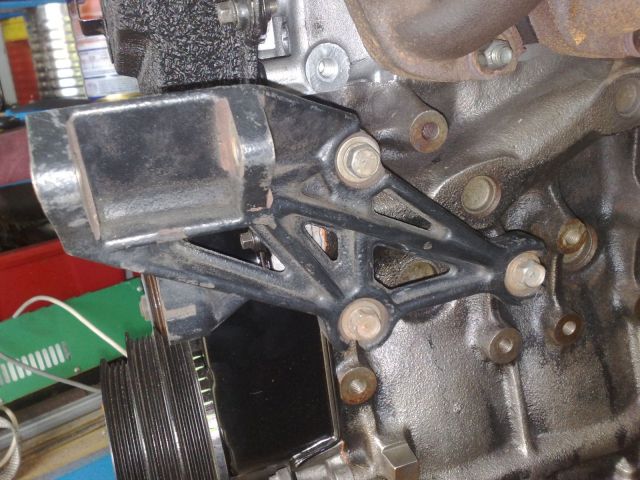
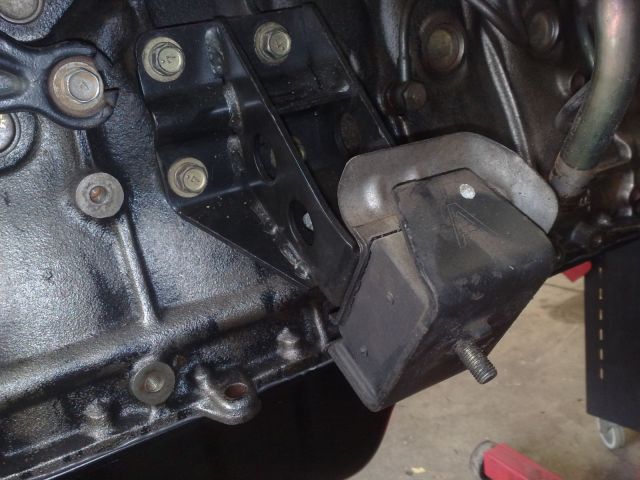
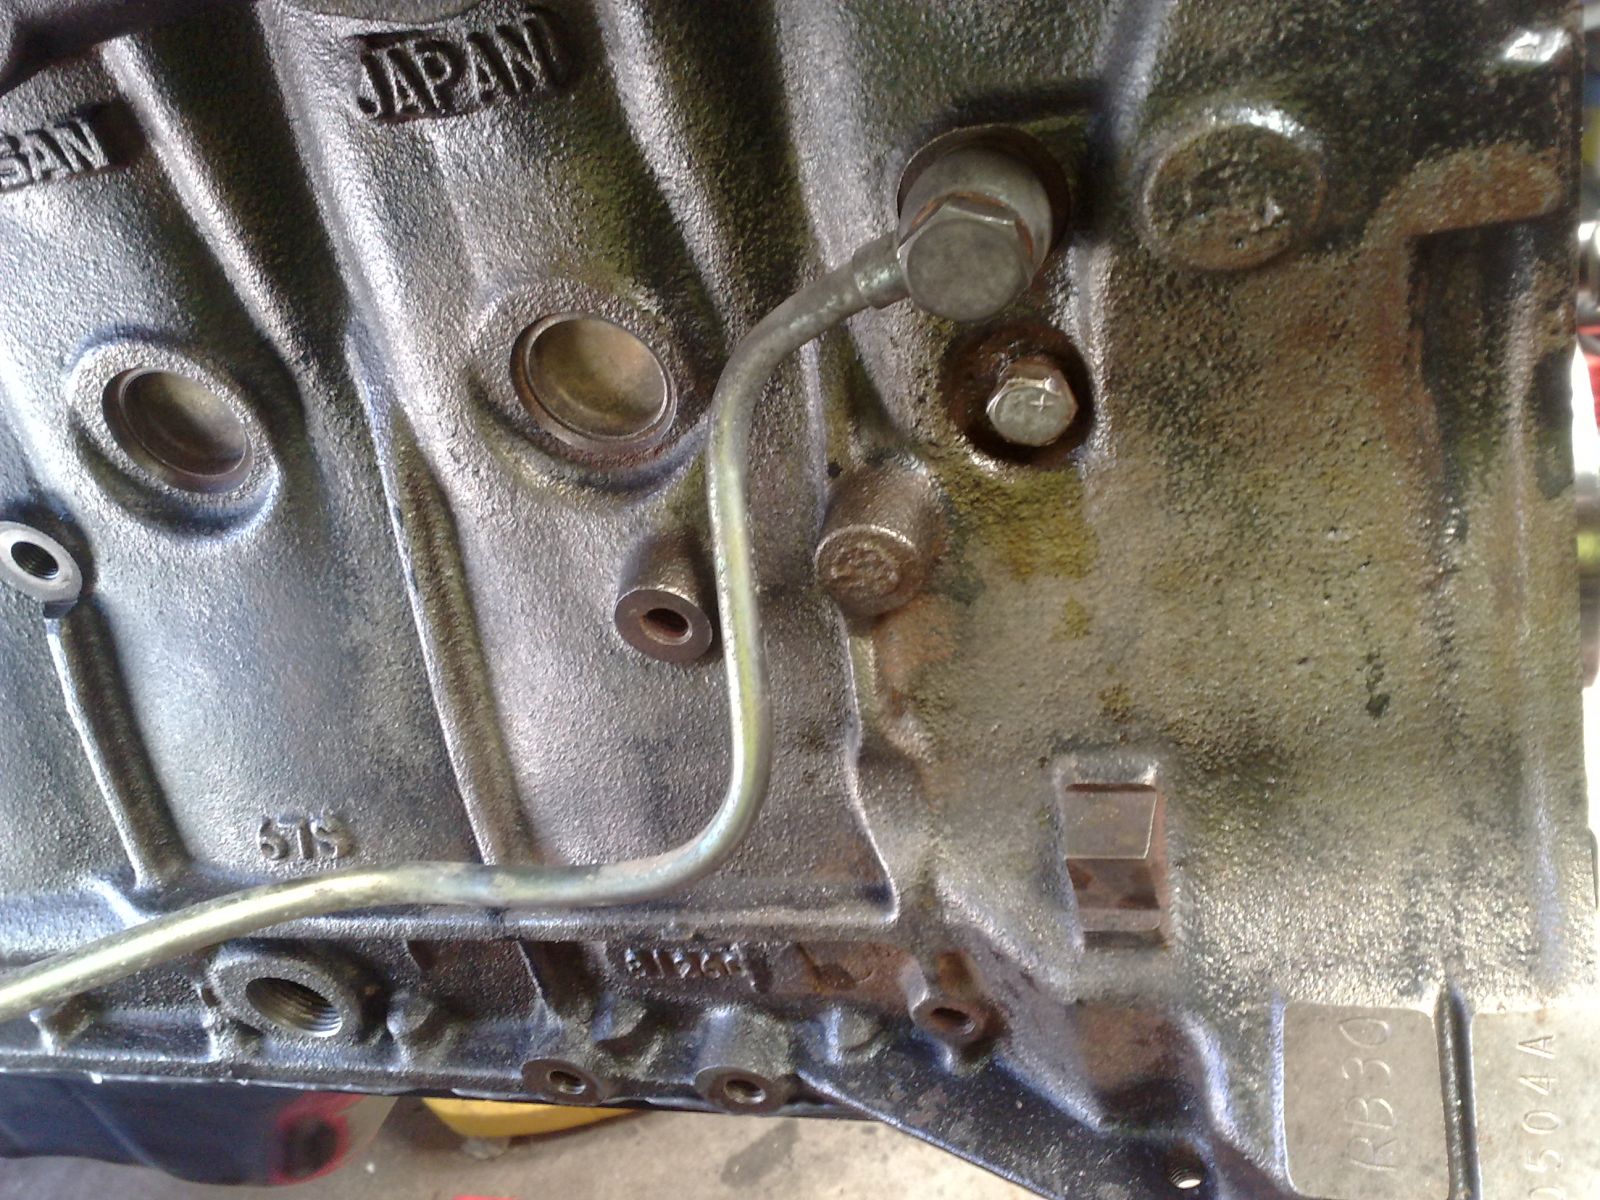
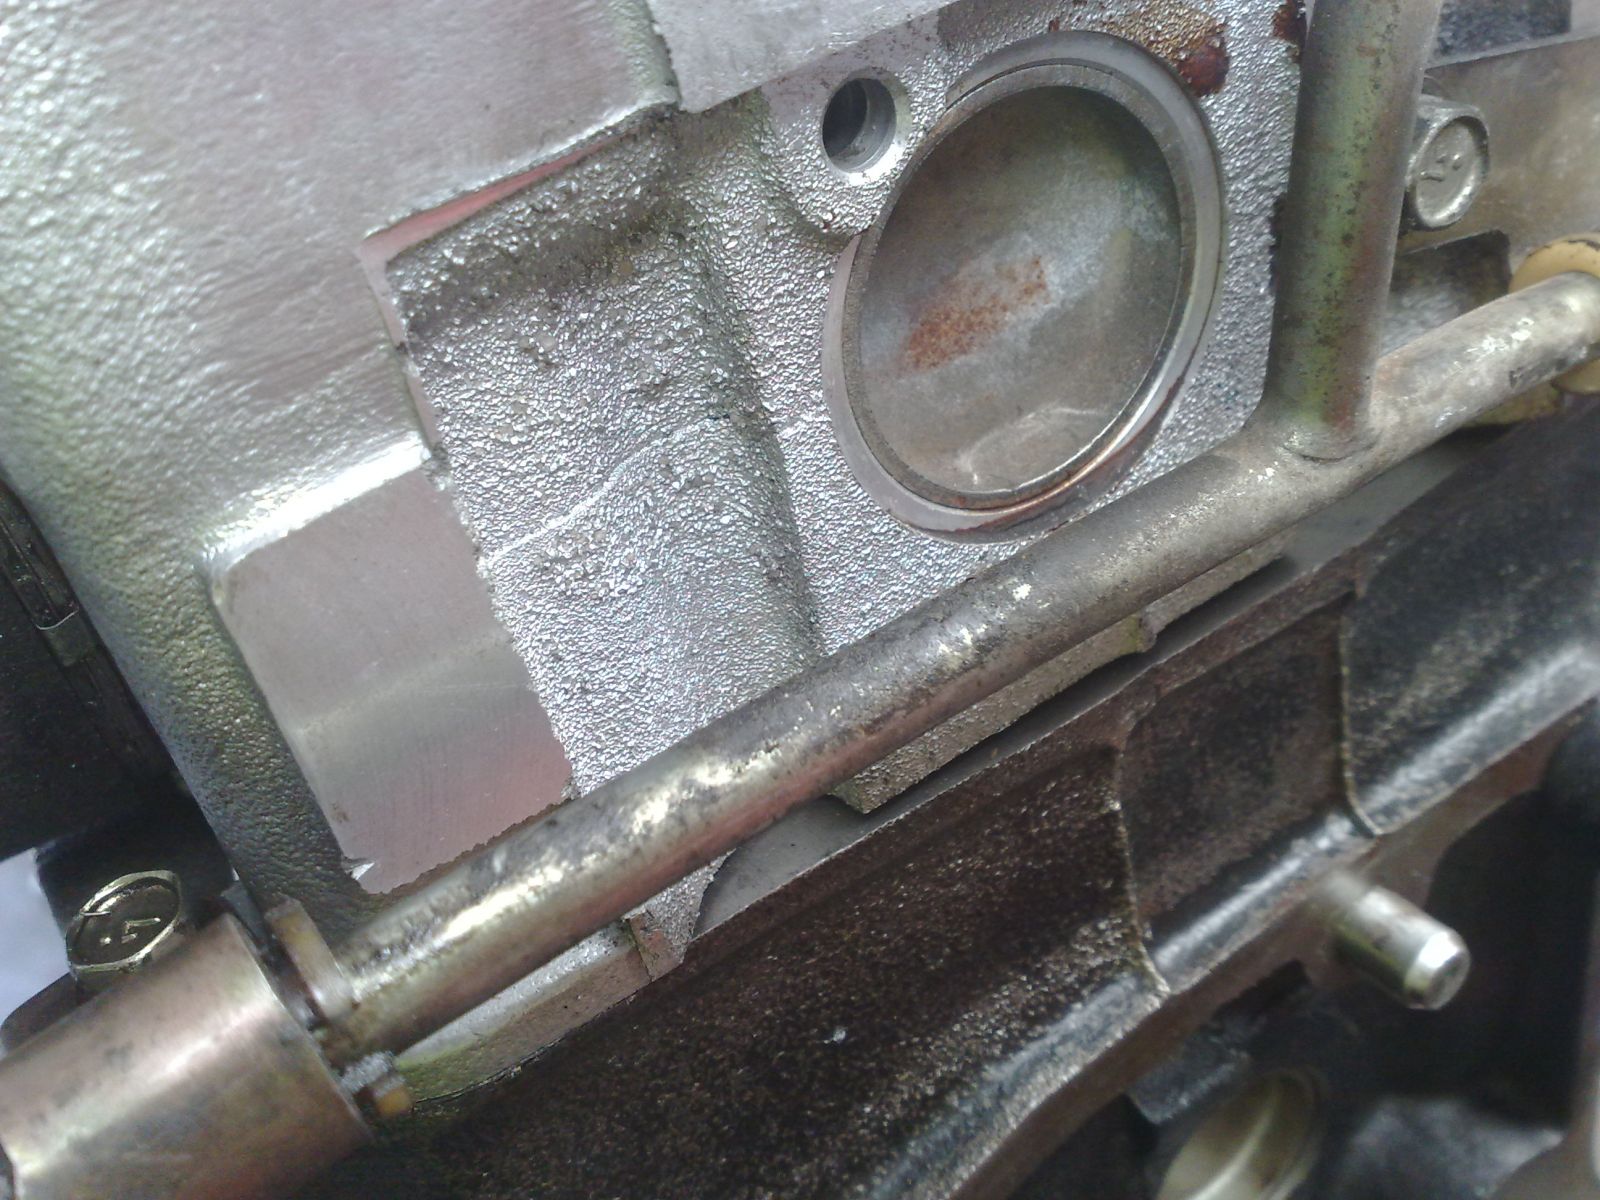
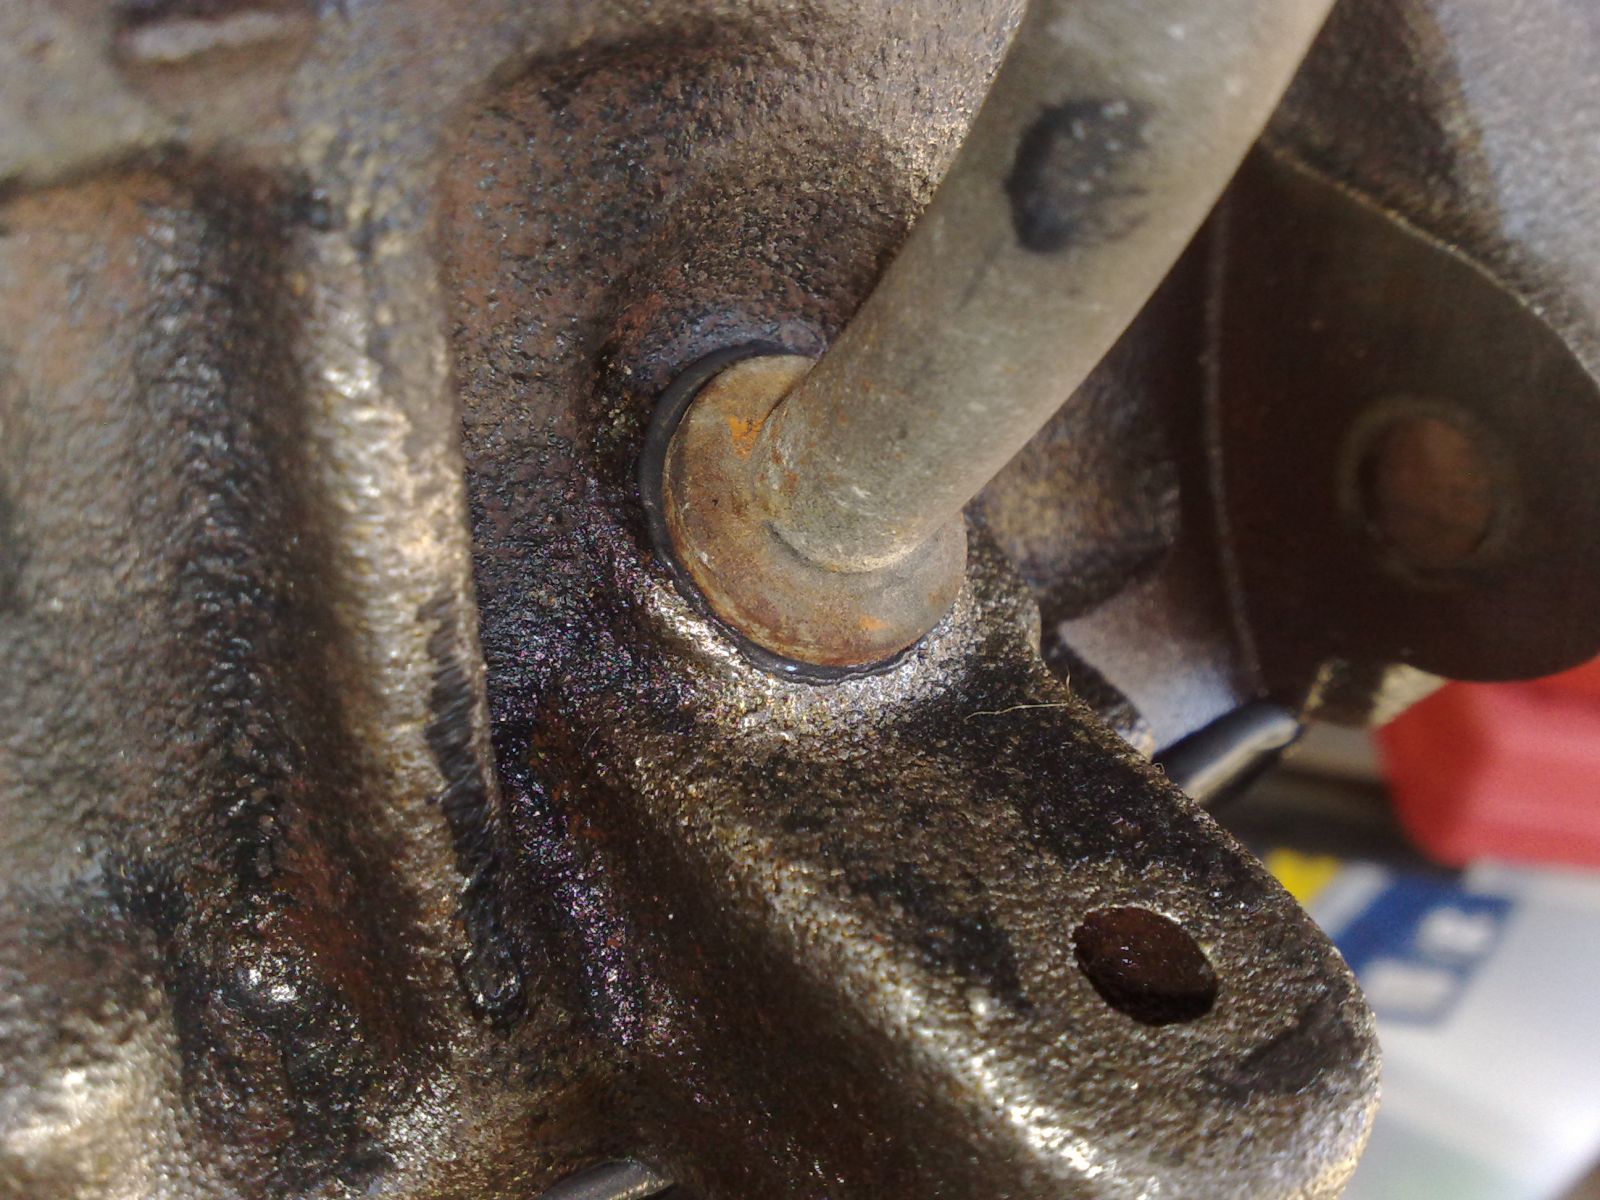
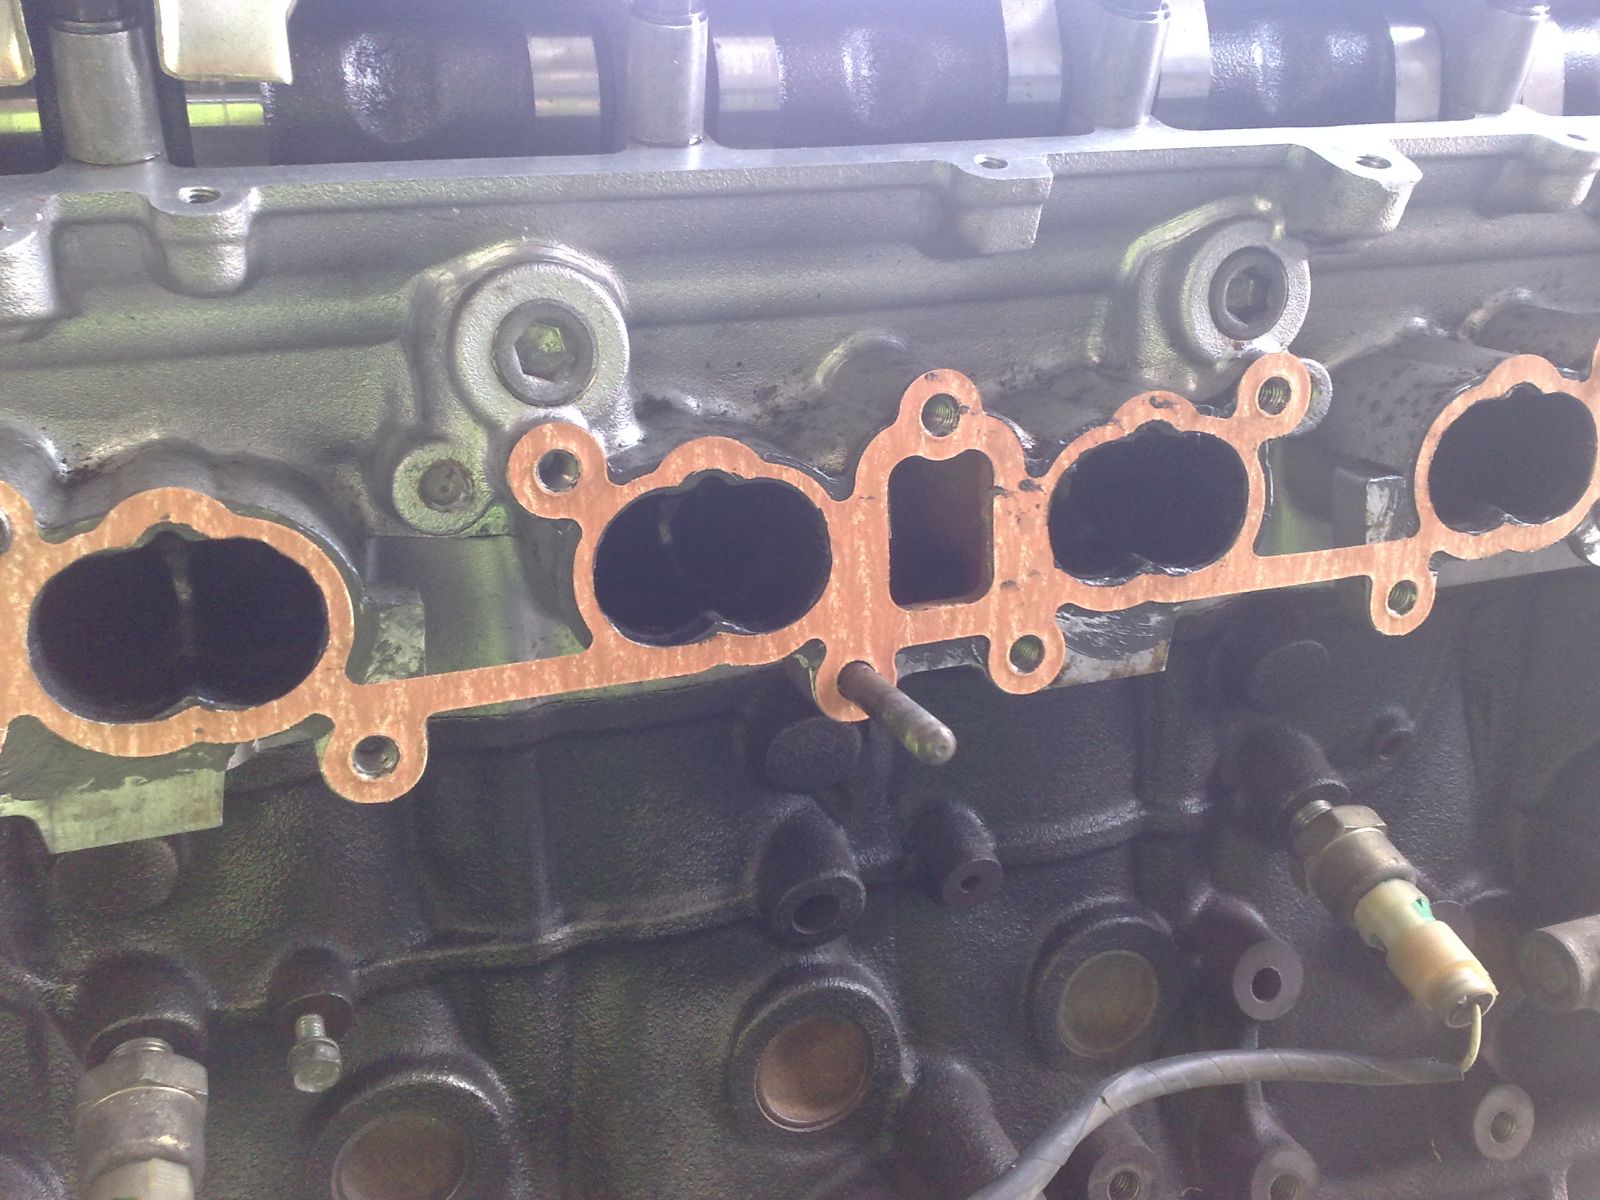
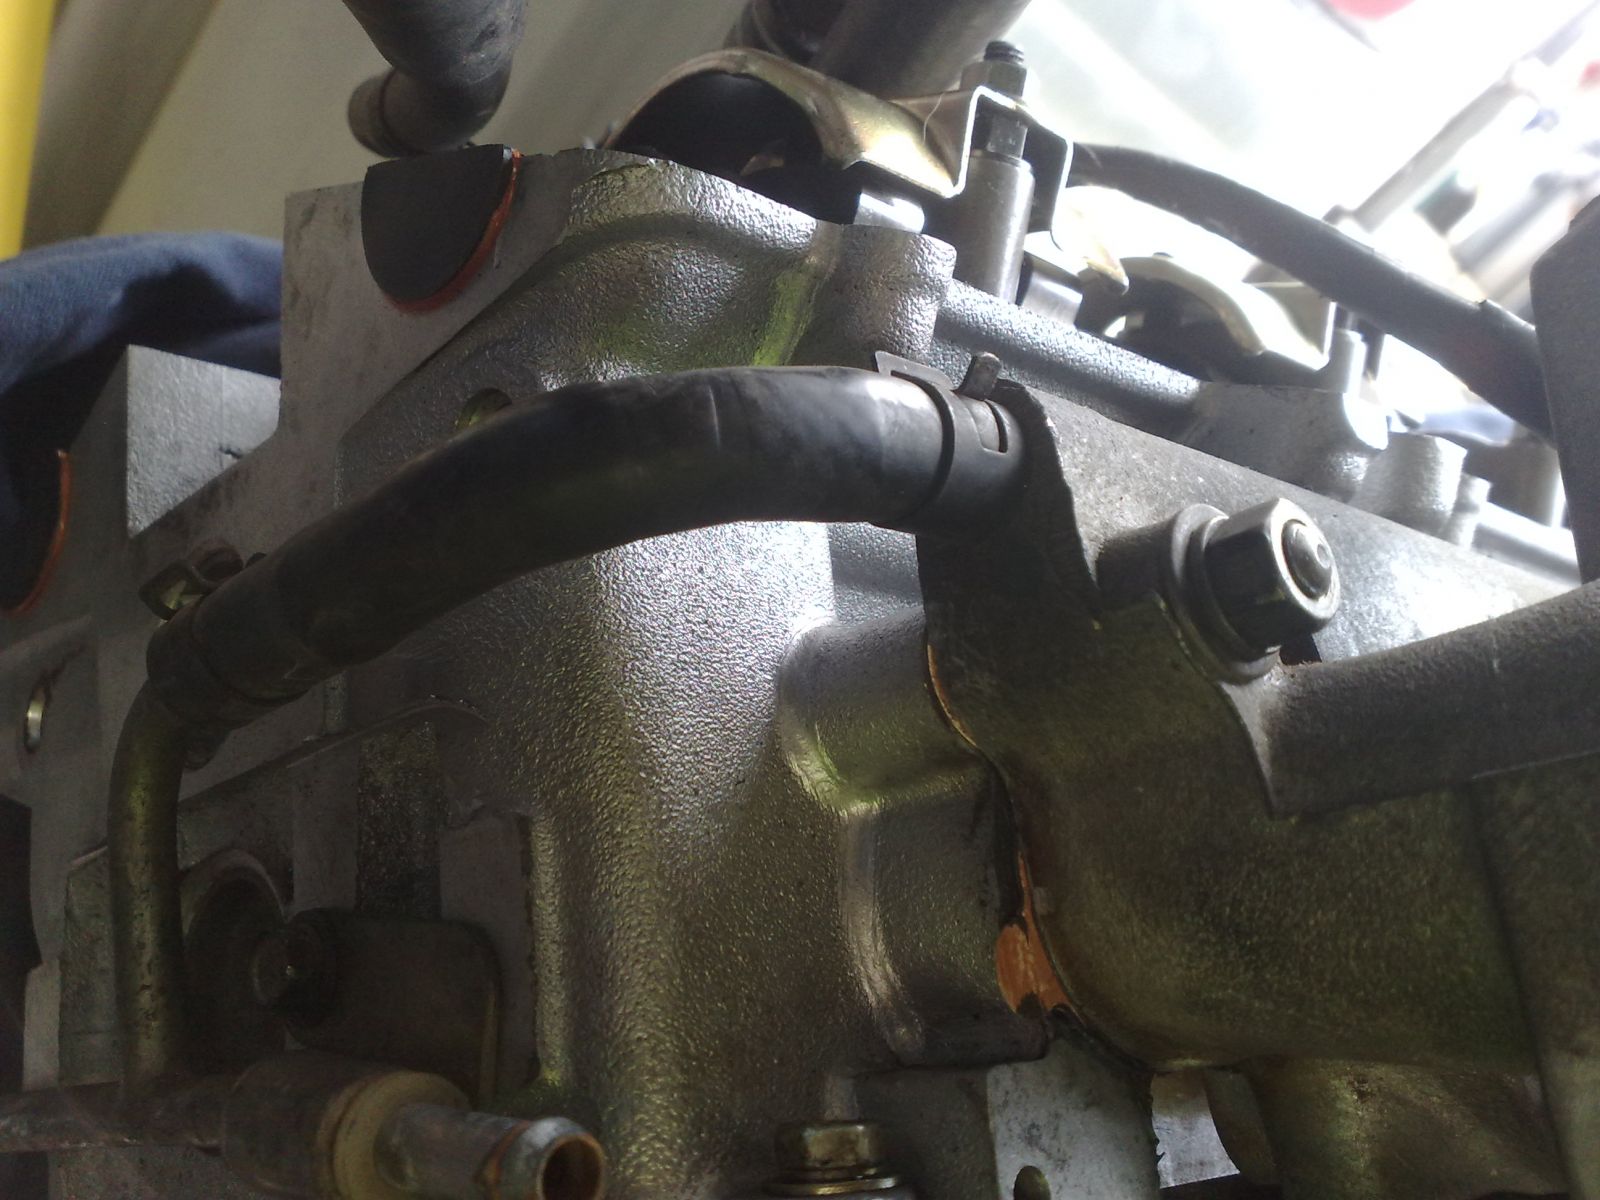
Connect the water return line to the block using the banjo bolt, some people also call these eyebolts. Make sure that you use a copper washer on each side of every banjo bolt you use.
You will need to bend and shape the line in order to be able to connect it to the block. Use a little common sense to avoid kinking the line. Basically, bend the line as you need to in various sections along the line, not in the same place. After a bit of shaping you will have everything lined up enough to connect it.
Torque the bolt down to 2.7kg-m (19.52lb-ft, 26.46Nm).
Download Full Size Image
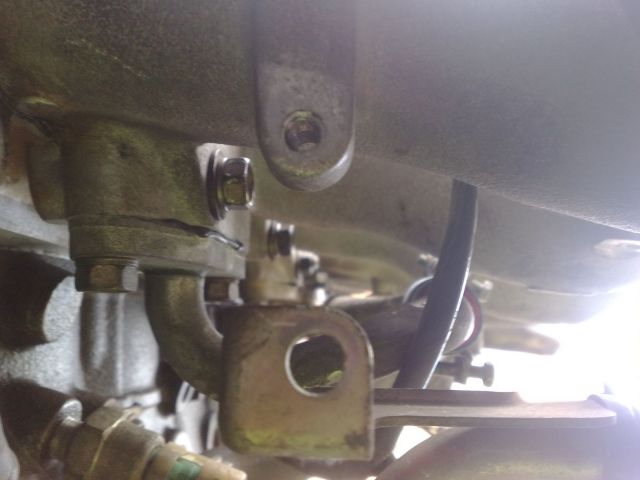
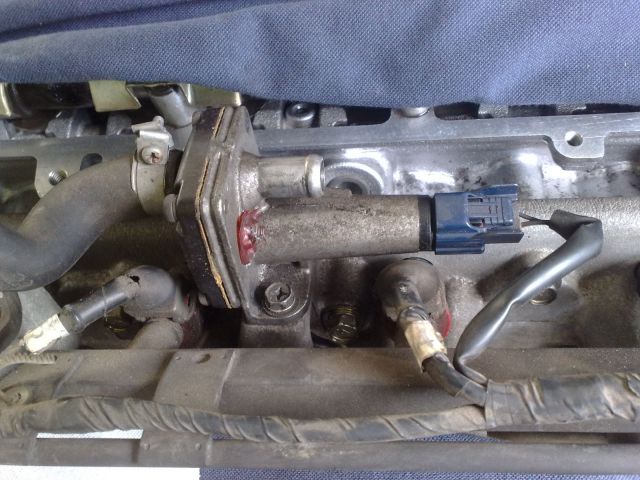
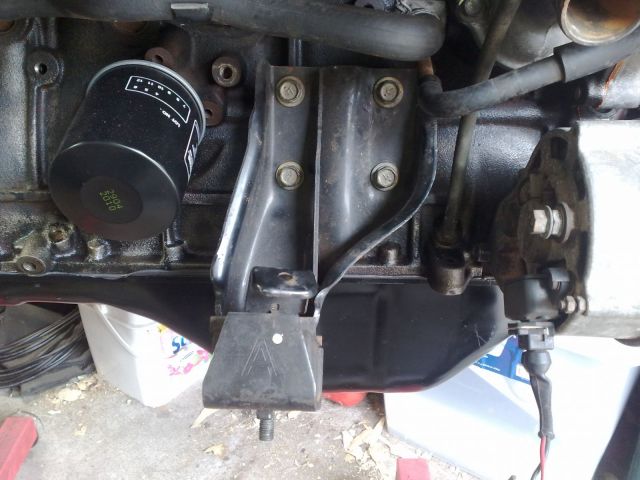
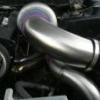
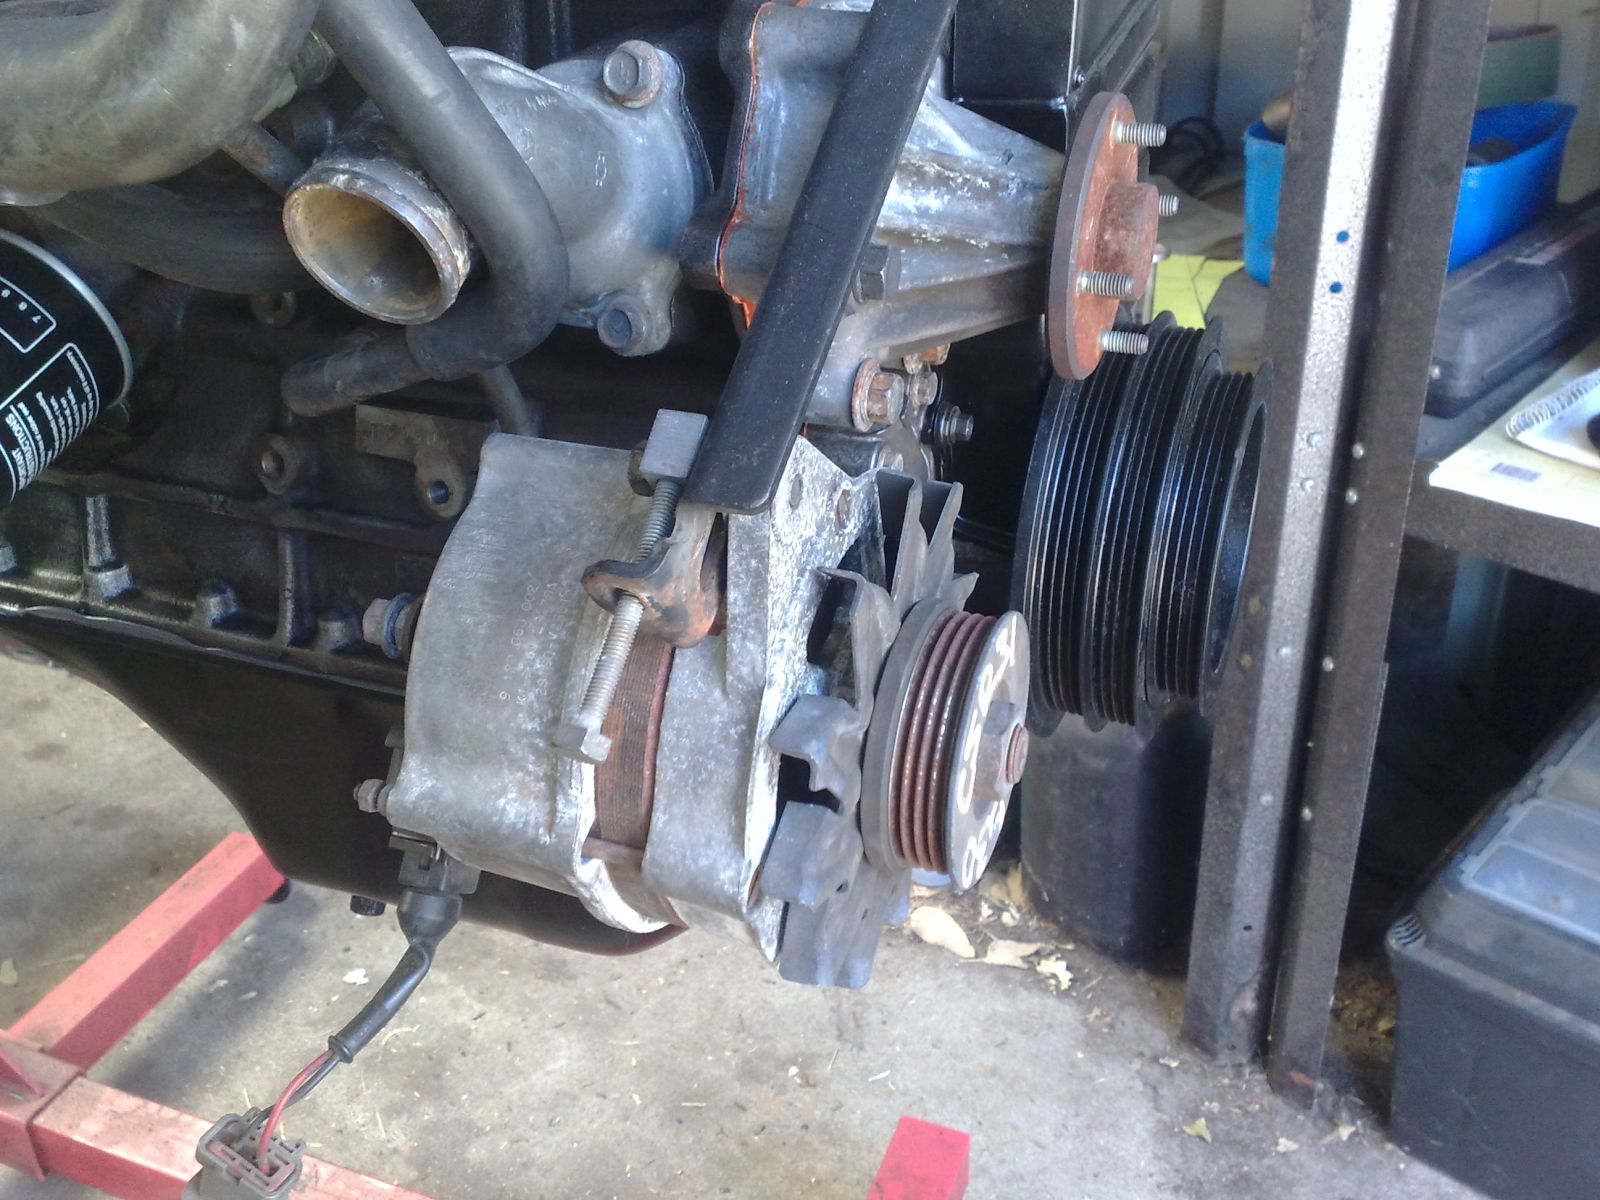
Connect the return line to the turbo and torque down to 2.7kg-m (19.52lb-ft, 26.46Nm).
Download Full Size Image
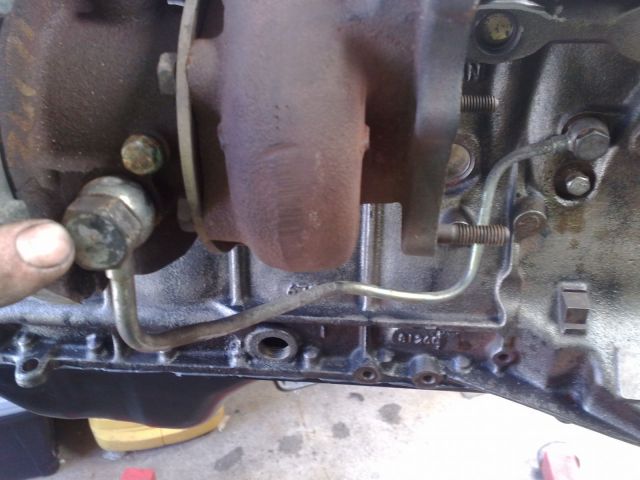
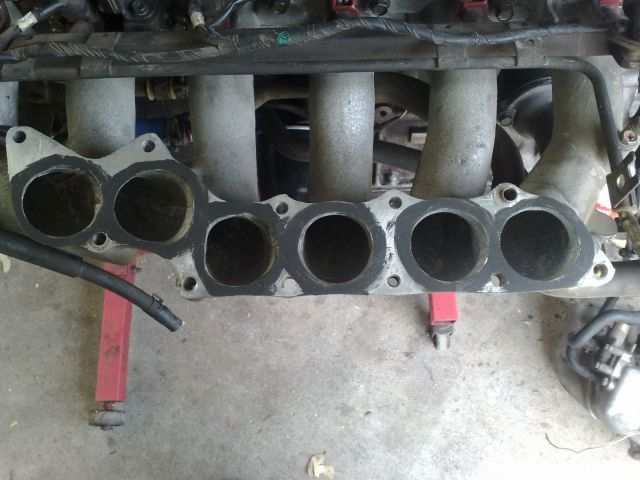
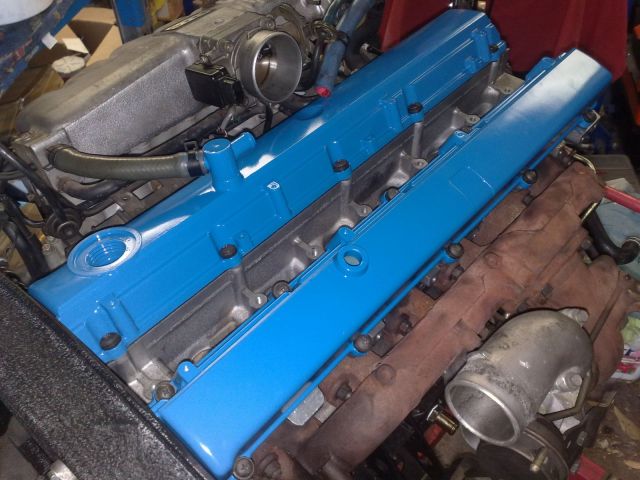
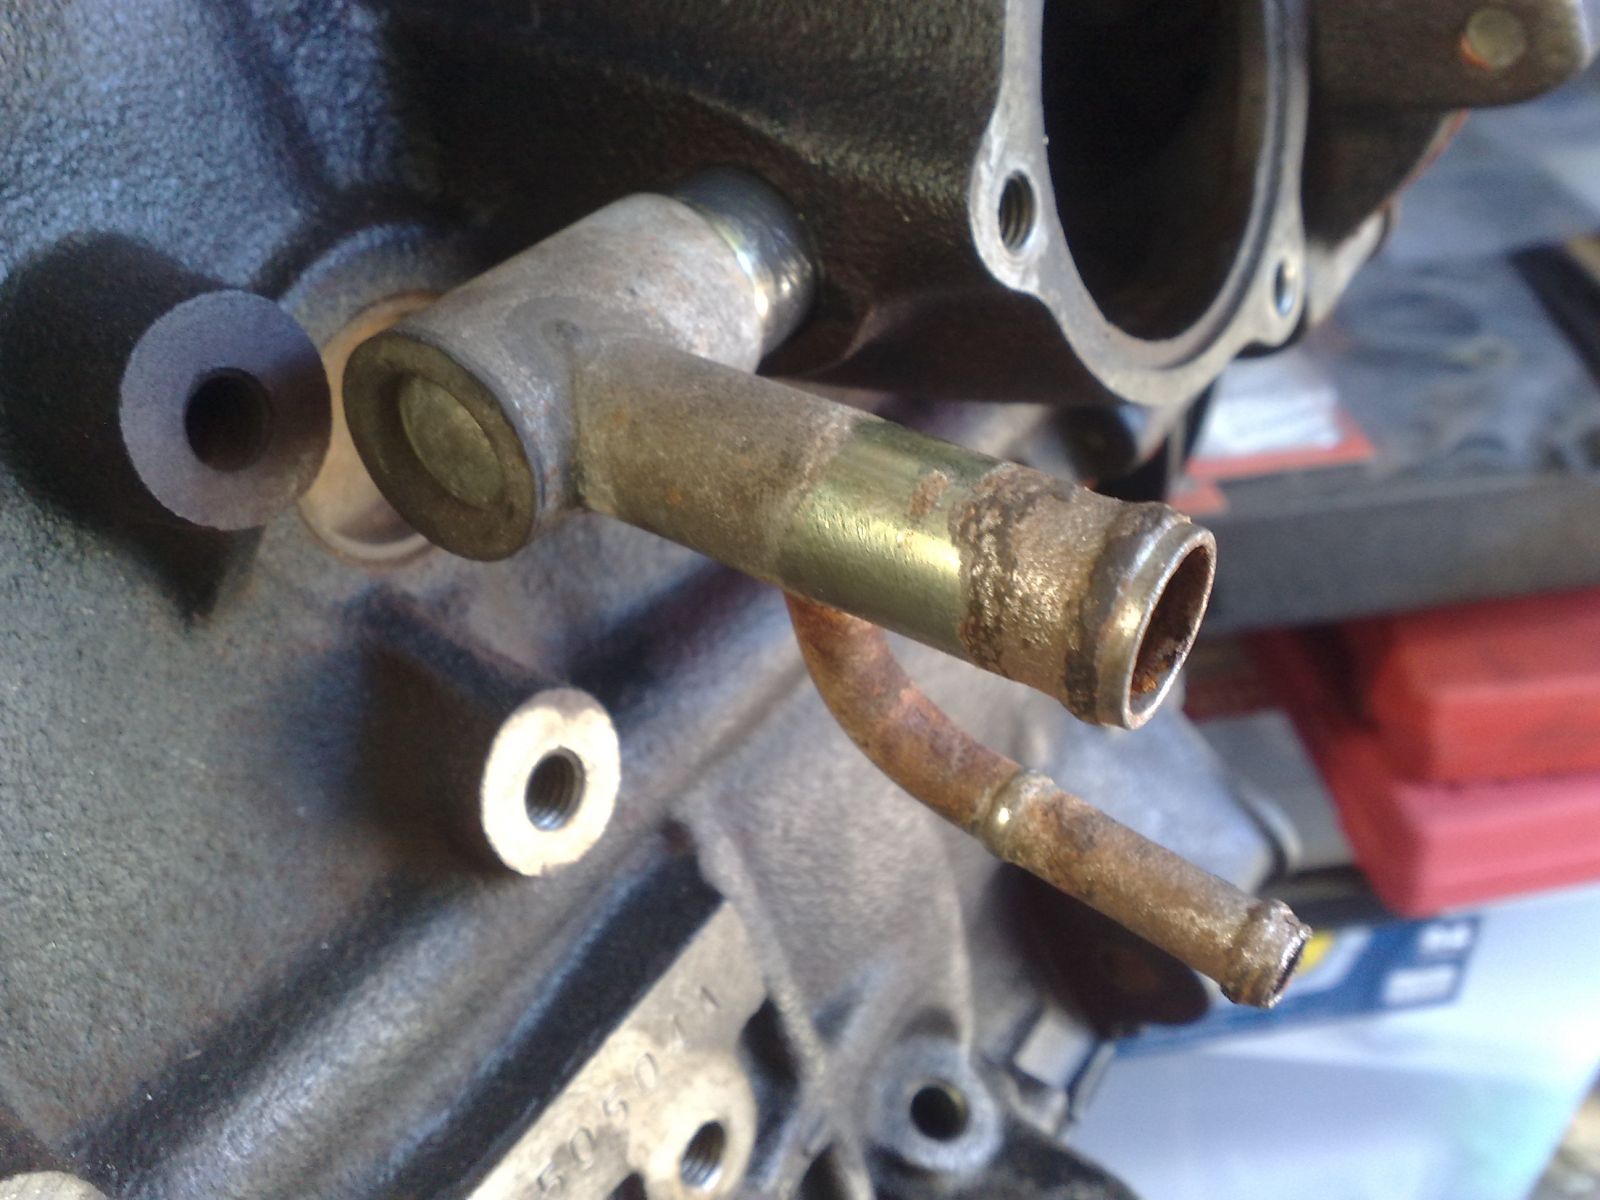
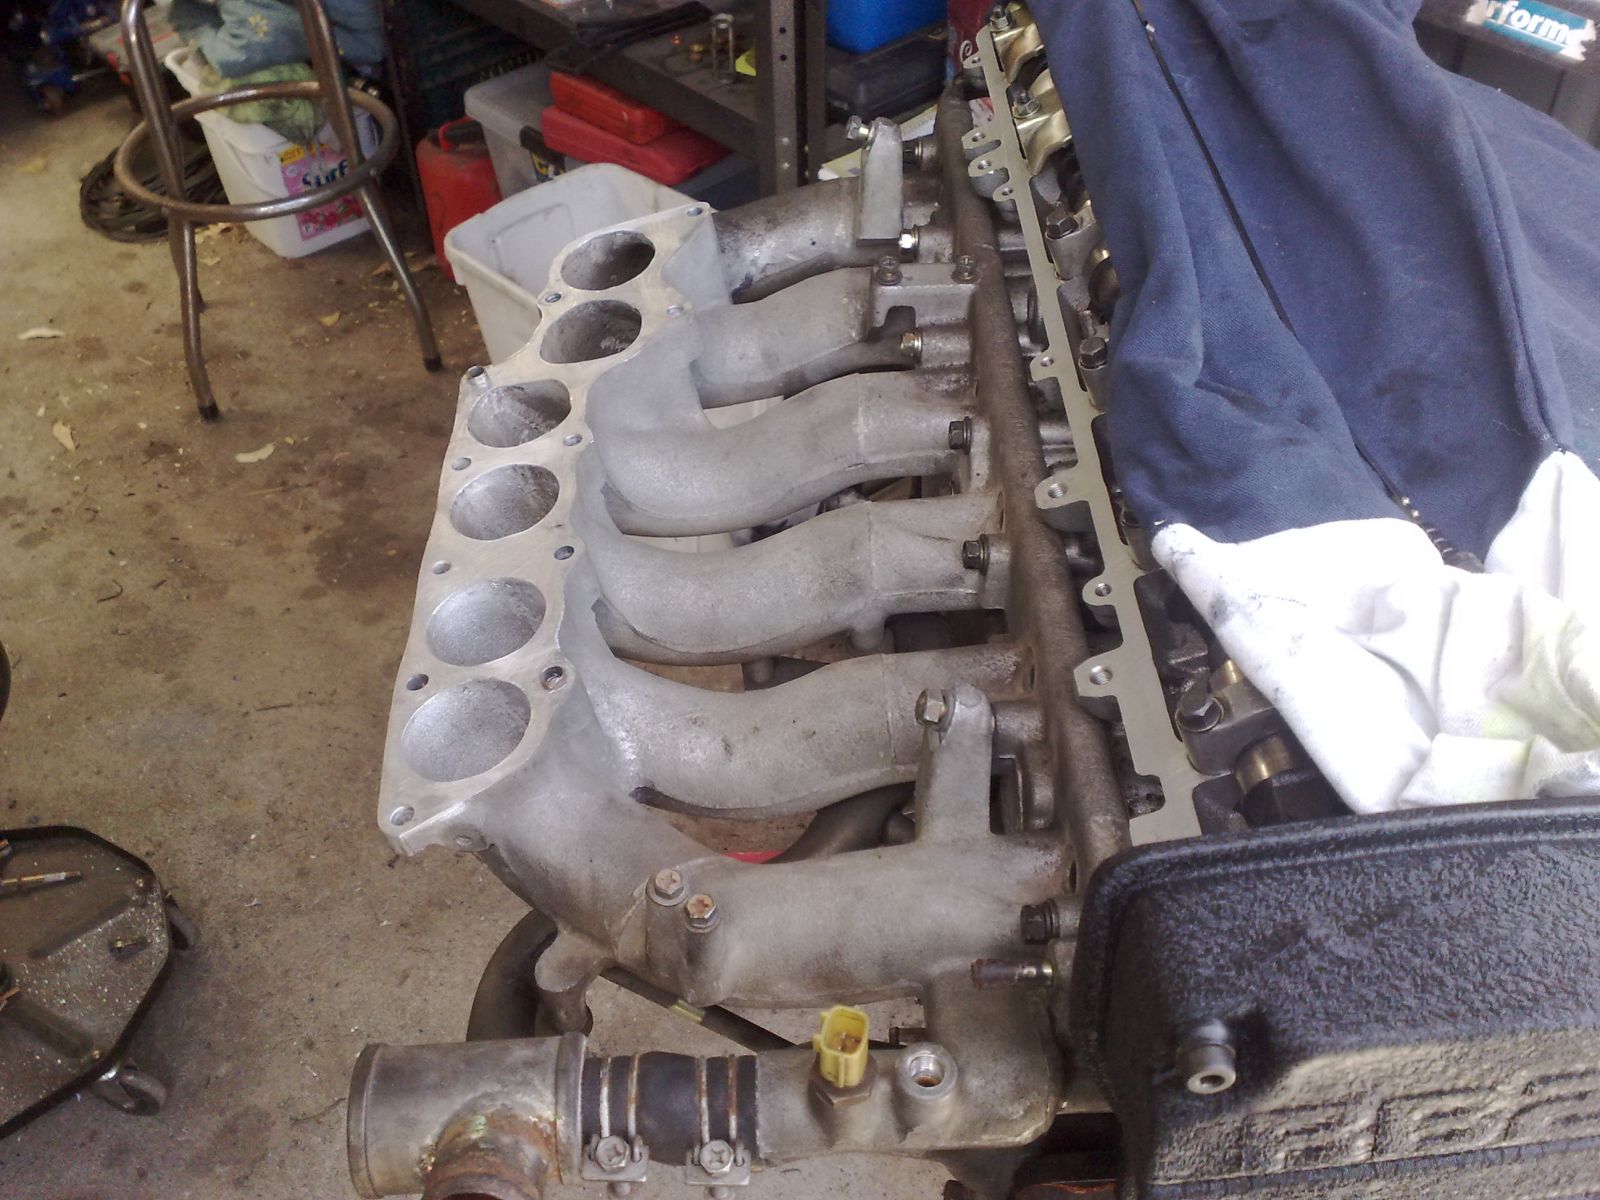
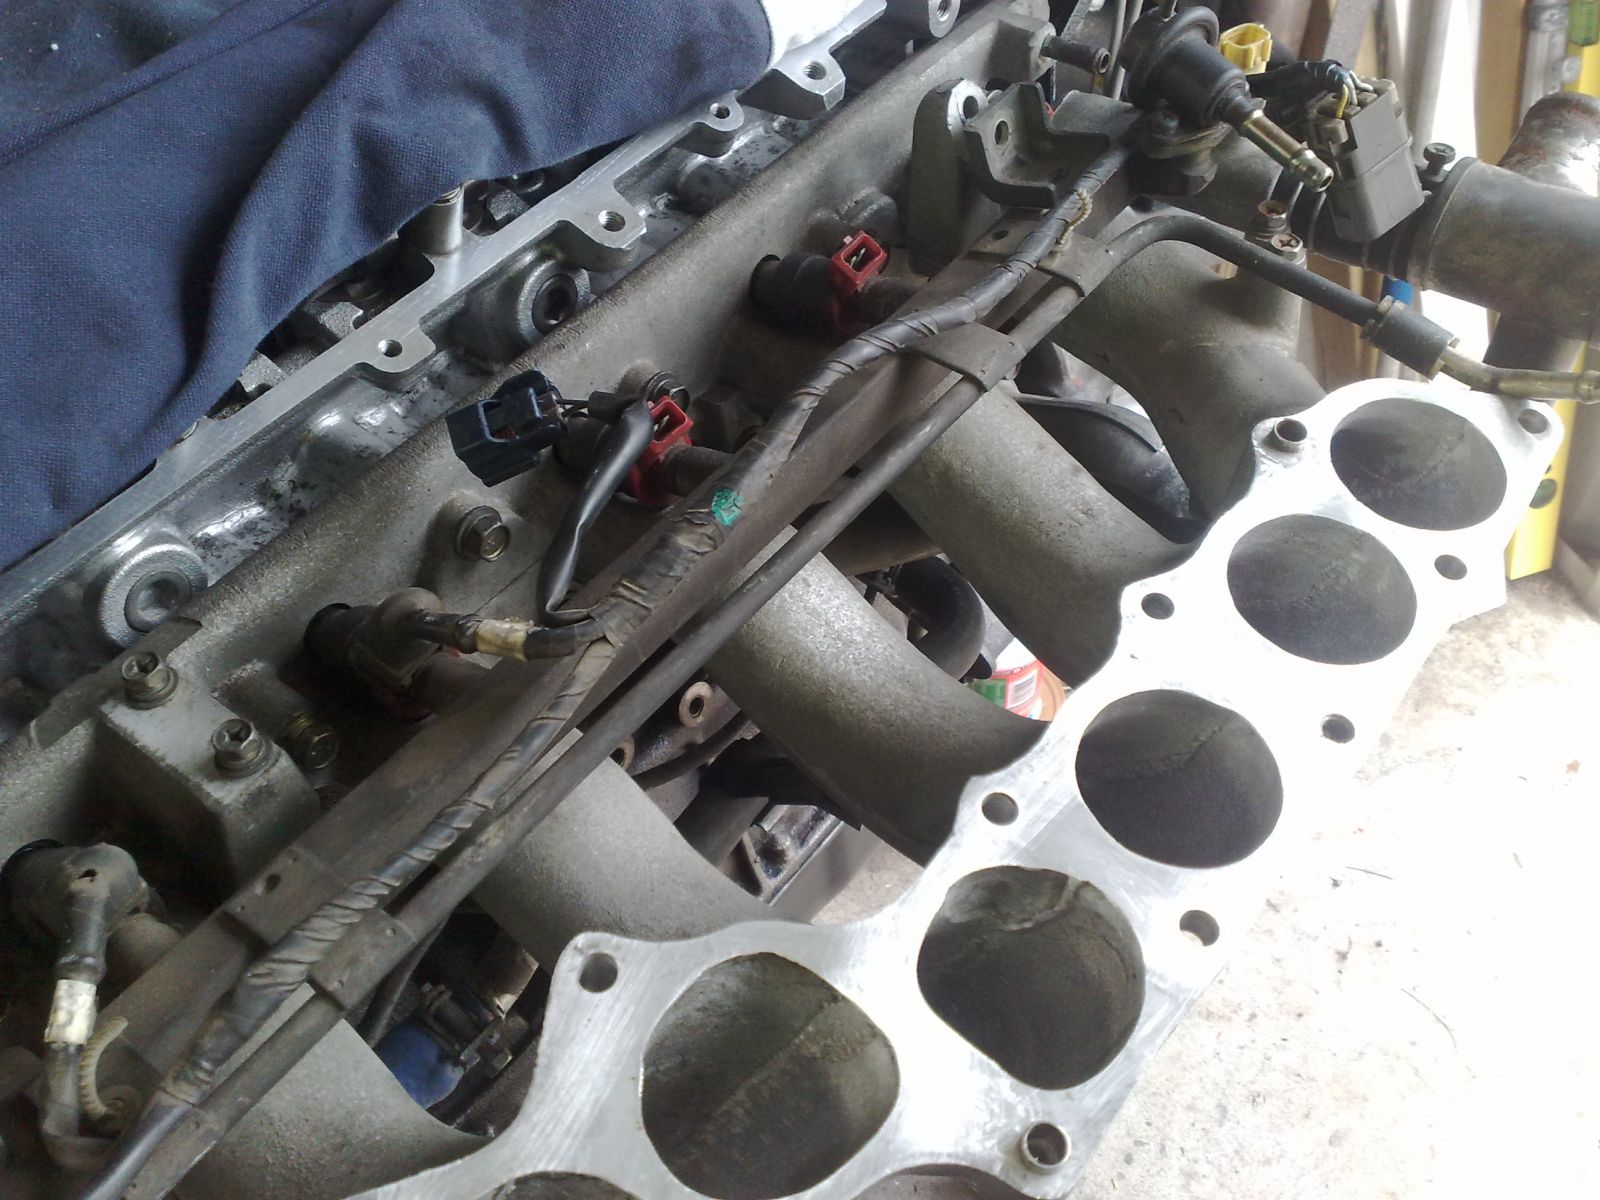
Connect the feed line to the two points behind the head before connecting to the turbo, believe me, it’s easier this way. You will need to undo one of the head to block bolts that has already been nipped up in a previous section. Torque the head to block bolt down to 1kg-m (7.23lb-ft, 9.8Nm) again.
Download Full Size Image

Using the same principals as described above, massage the line to meet up with the connection point between the turbo and the block. I haven’t supplied a picture because it’s a bit difficult to get the camera behind the turbo, but its location is 180 degrees behind the return line point of connection. Torque the bolt down to 2.7kg-m (19.52lb-ft, 26.46Nm).
Oil Lines
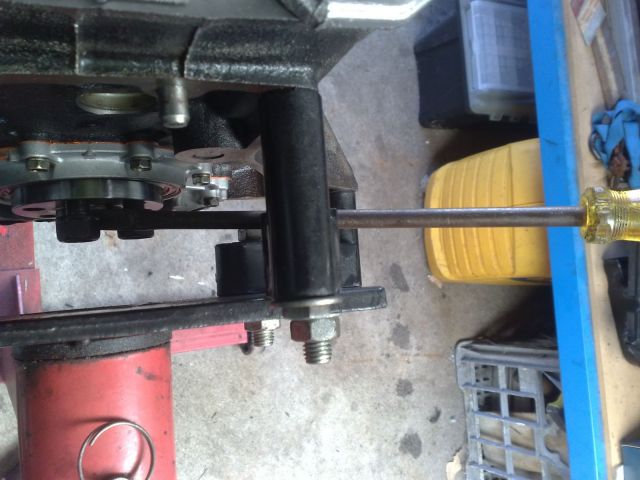
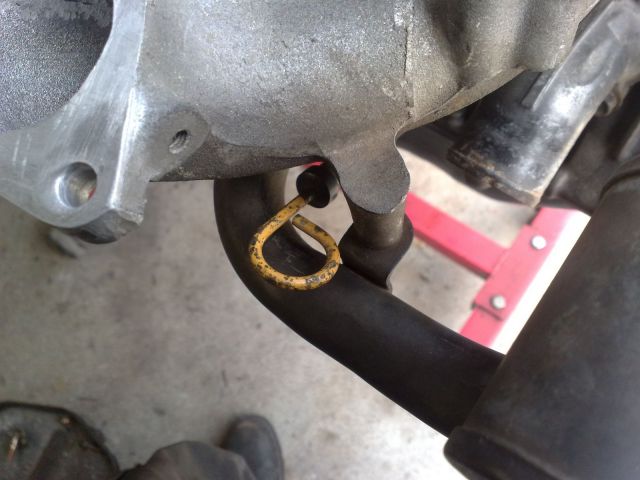
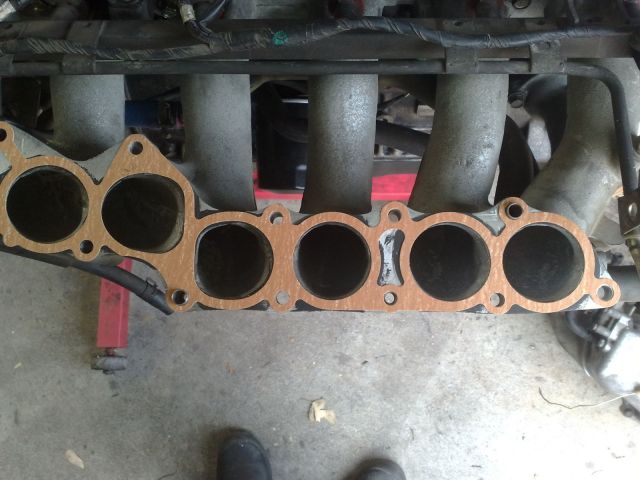
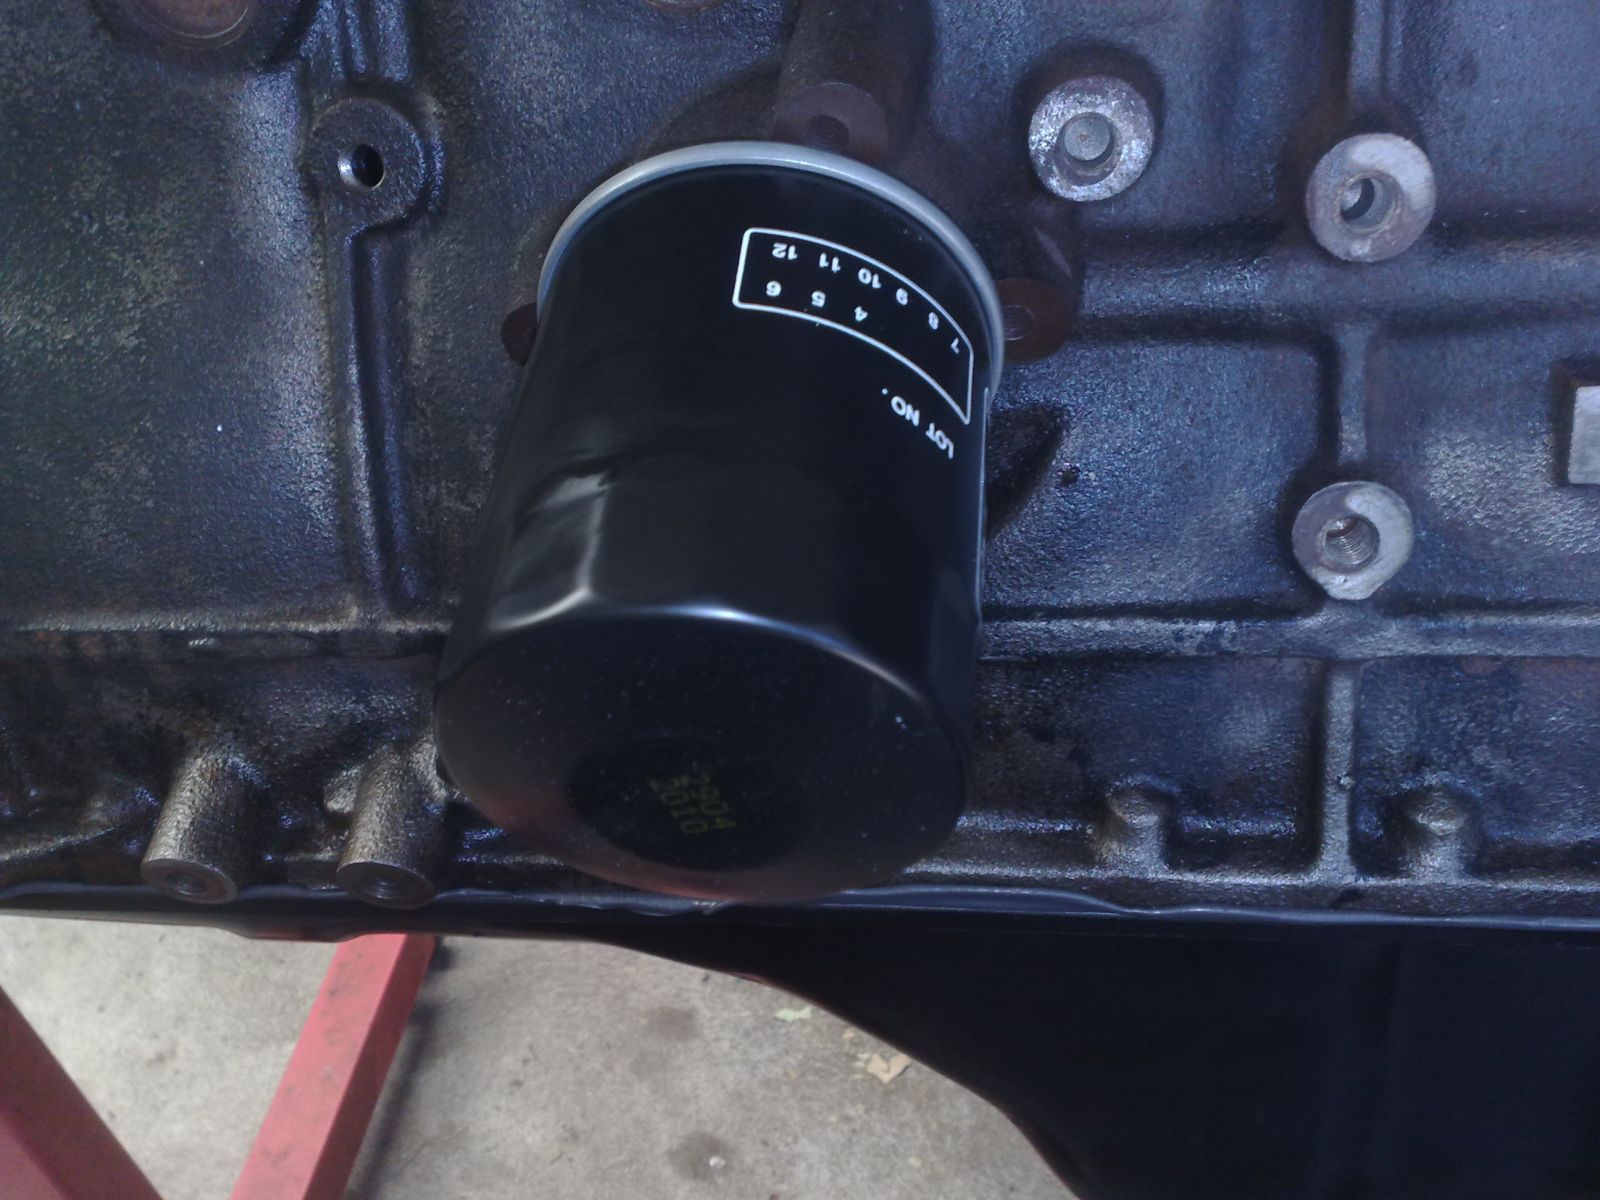
Connect the oil feed line to the turbo. The way I made the line fit was by stretching out the loop in the line, and then I massaged it to shape. Torque the bolt down to 2.7kg-m (19.52lb-ft, 26.46Nm).
While you're at it, connect the other side of the line to the block. Torque the bolt down to 2.7kg-m (1.95lb-ft, 2.65Nm).
Download Full Size Image
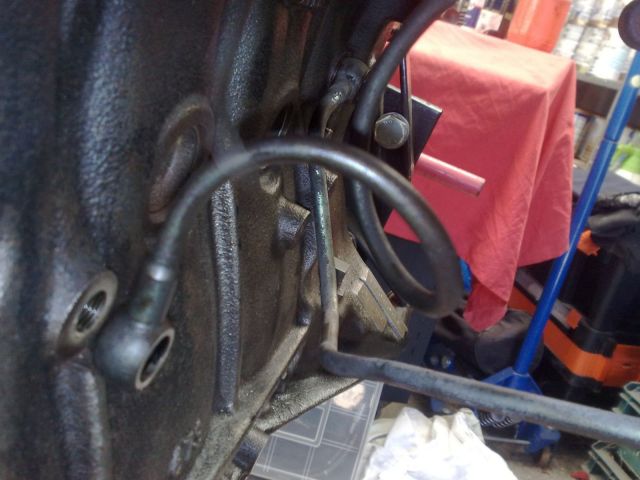
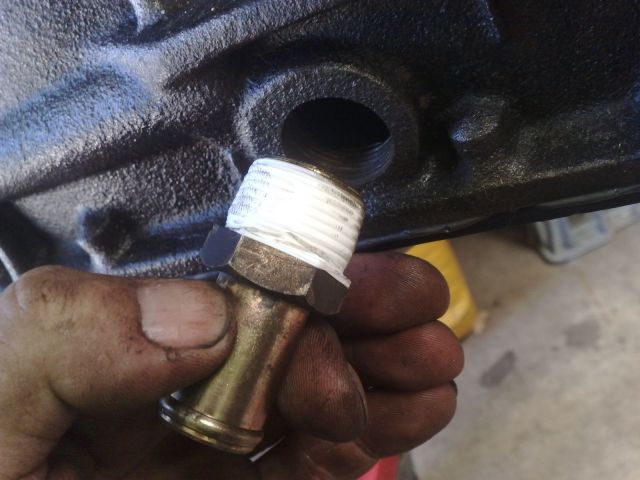
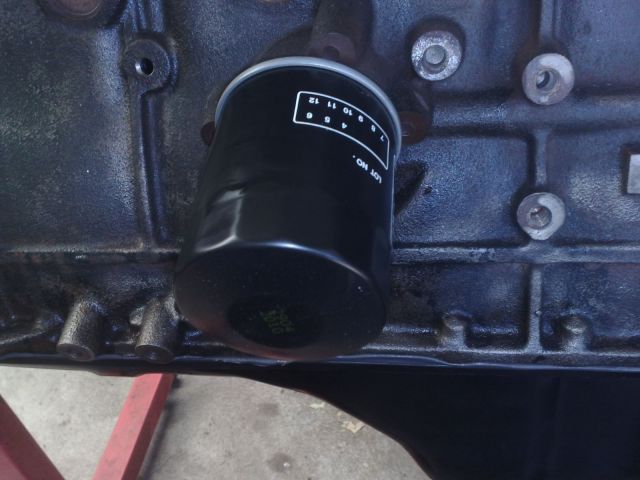
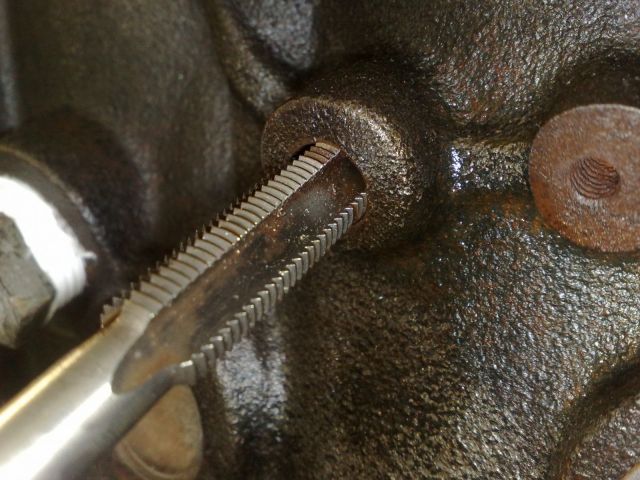
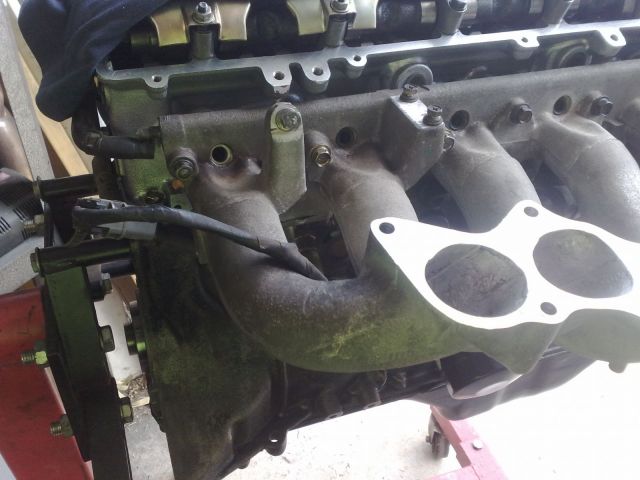
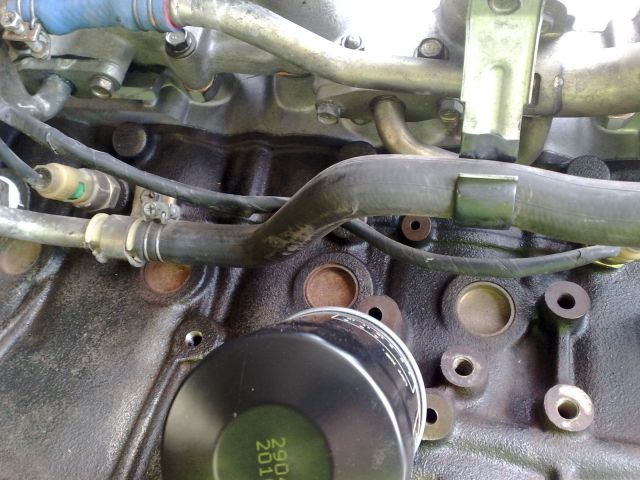
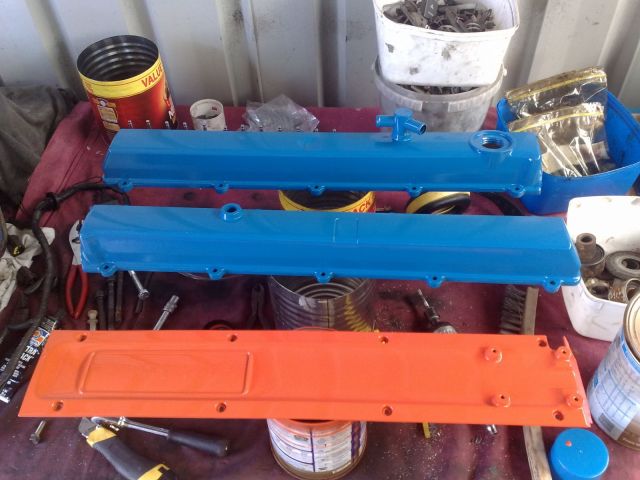
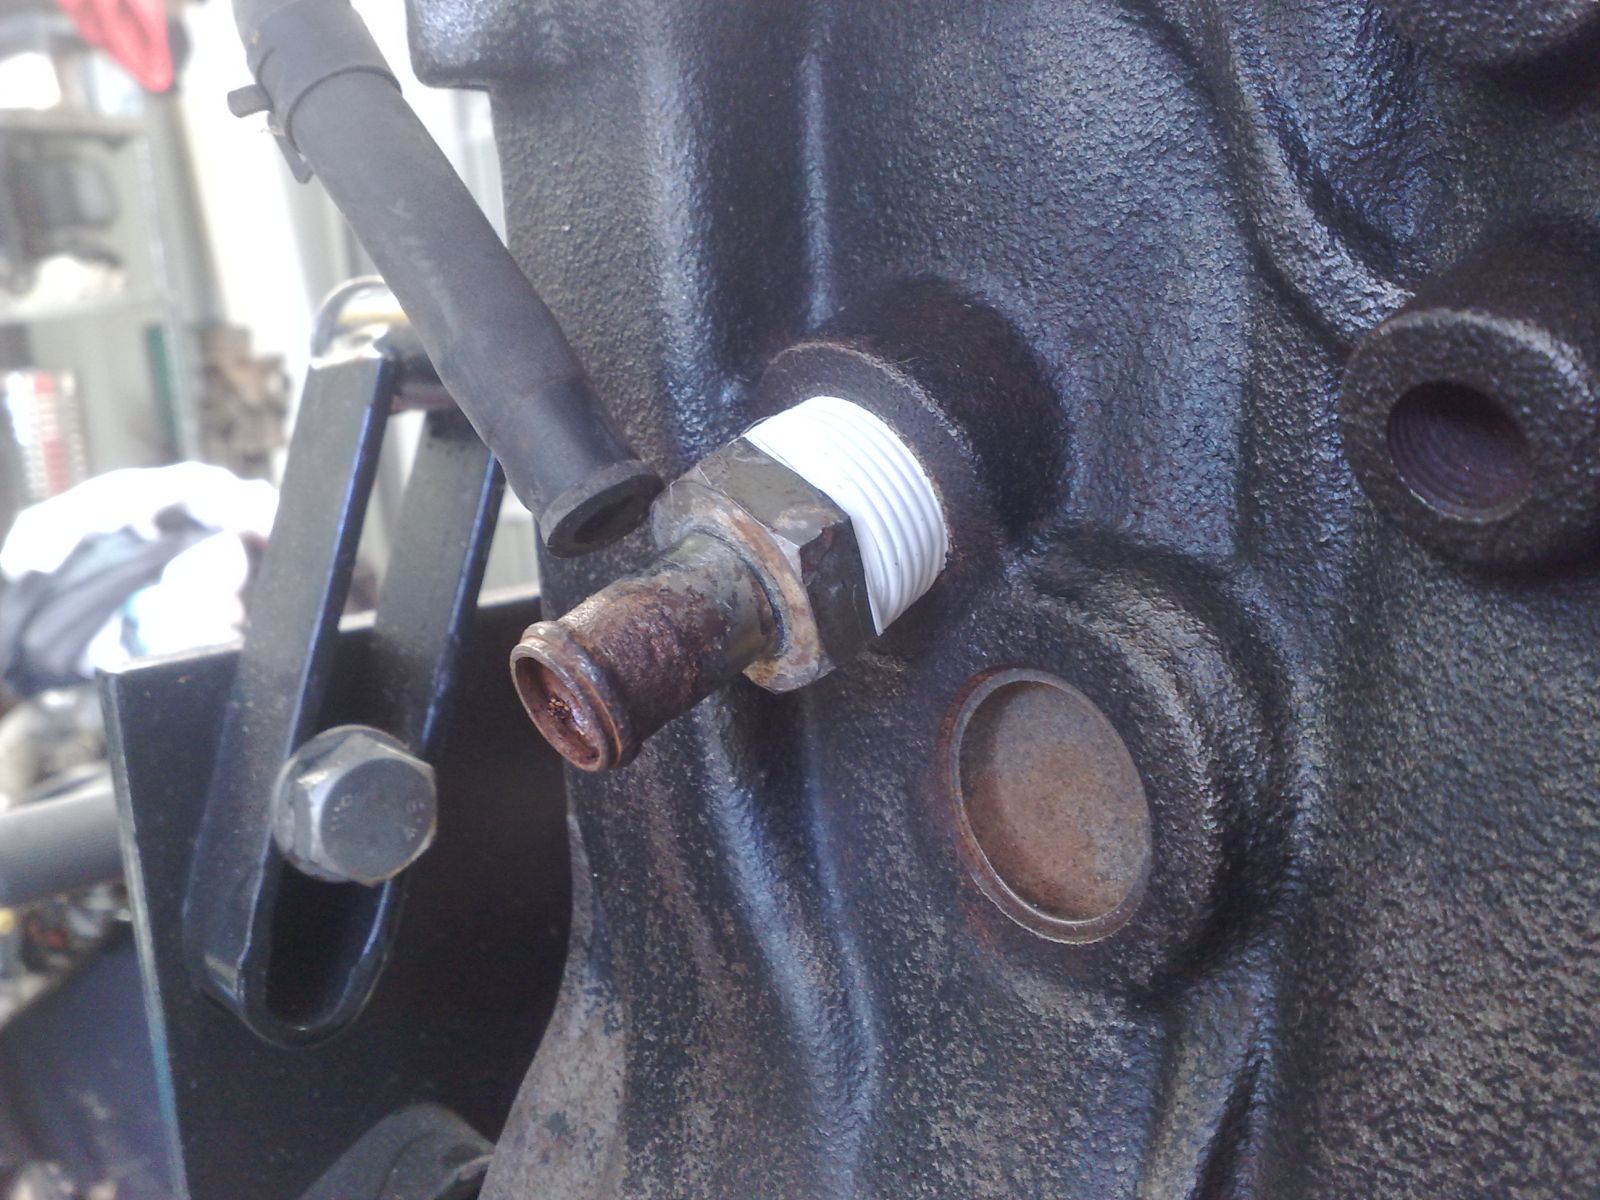
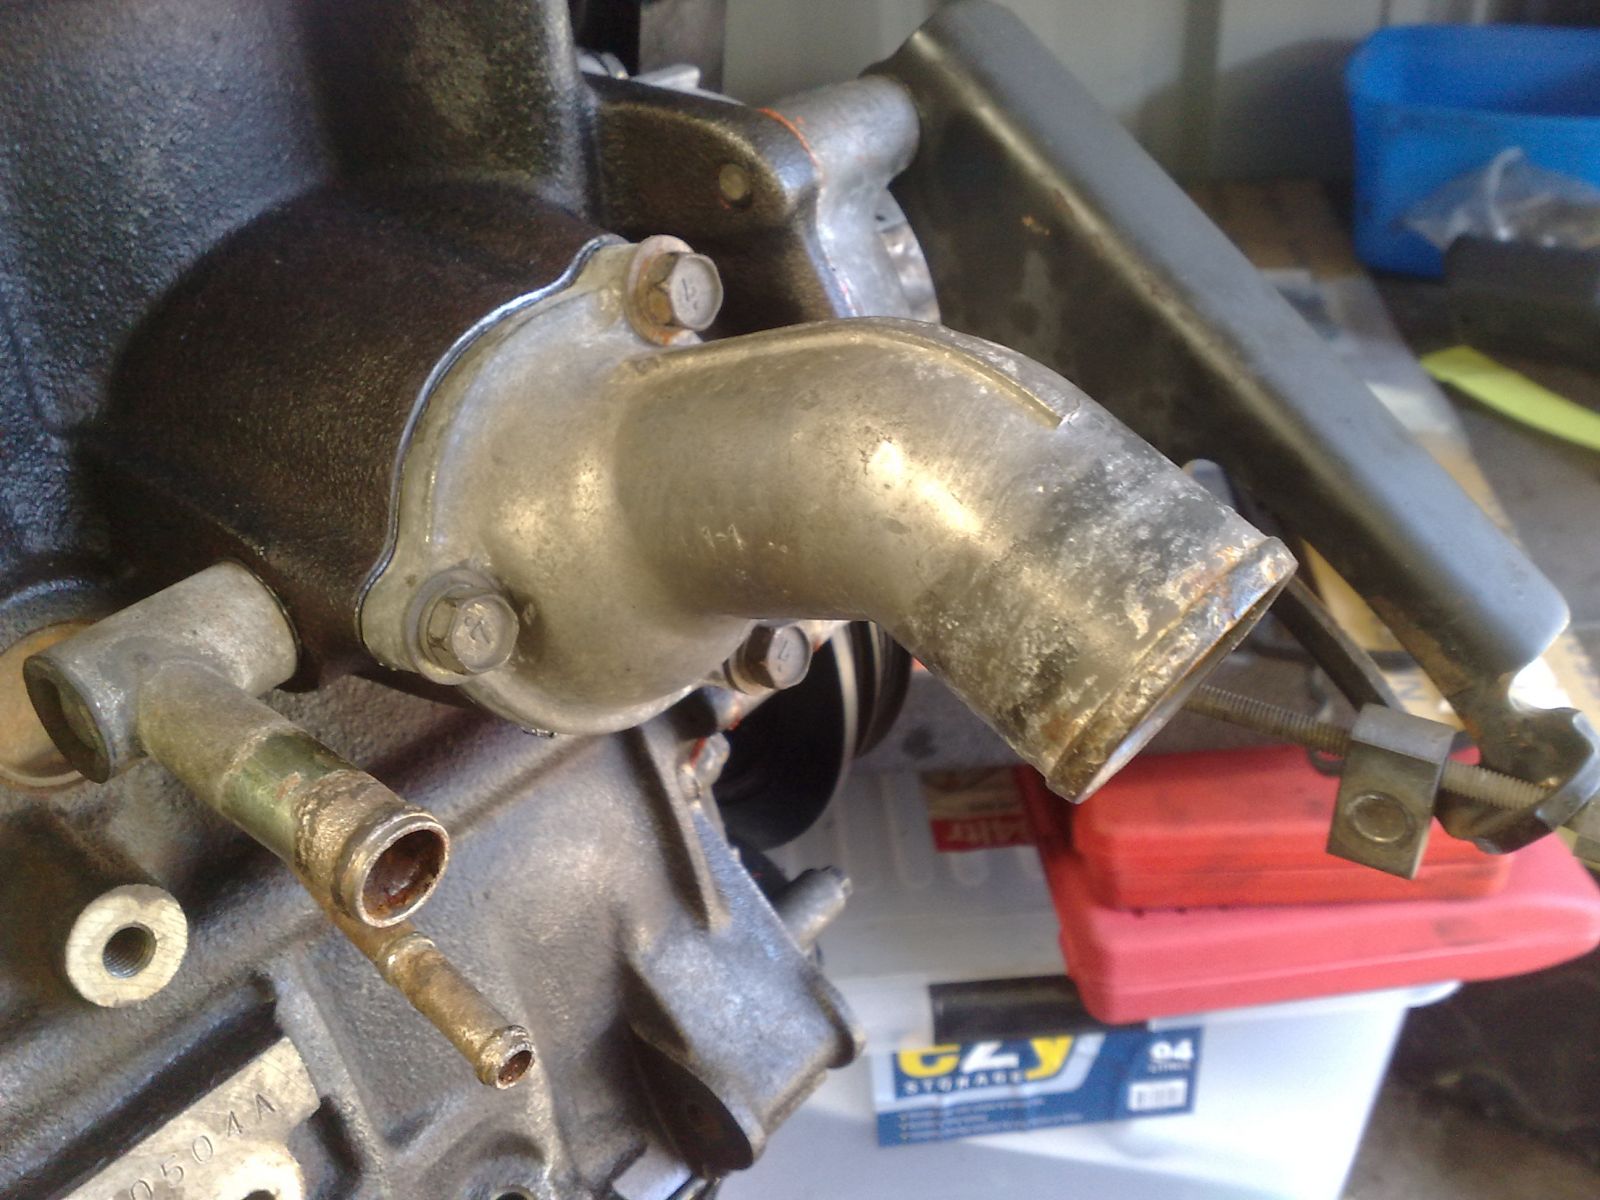
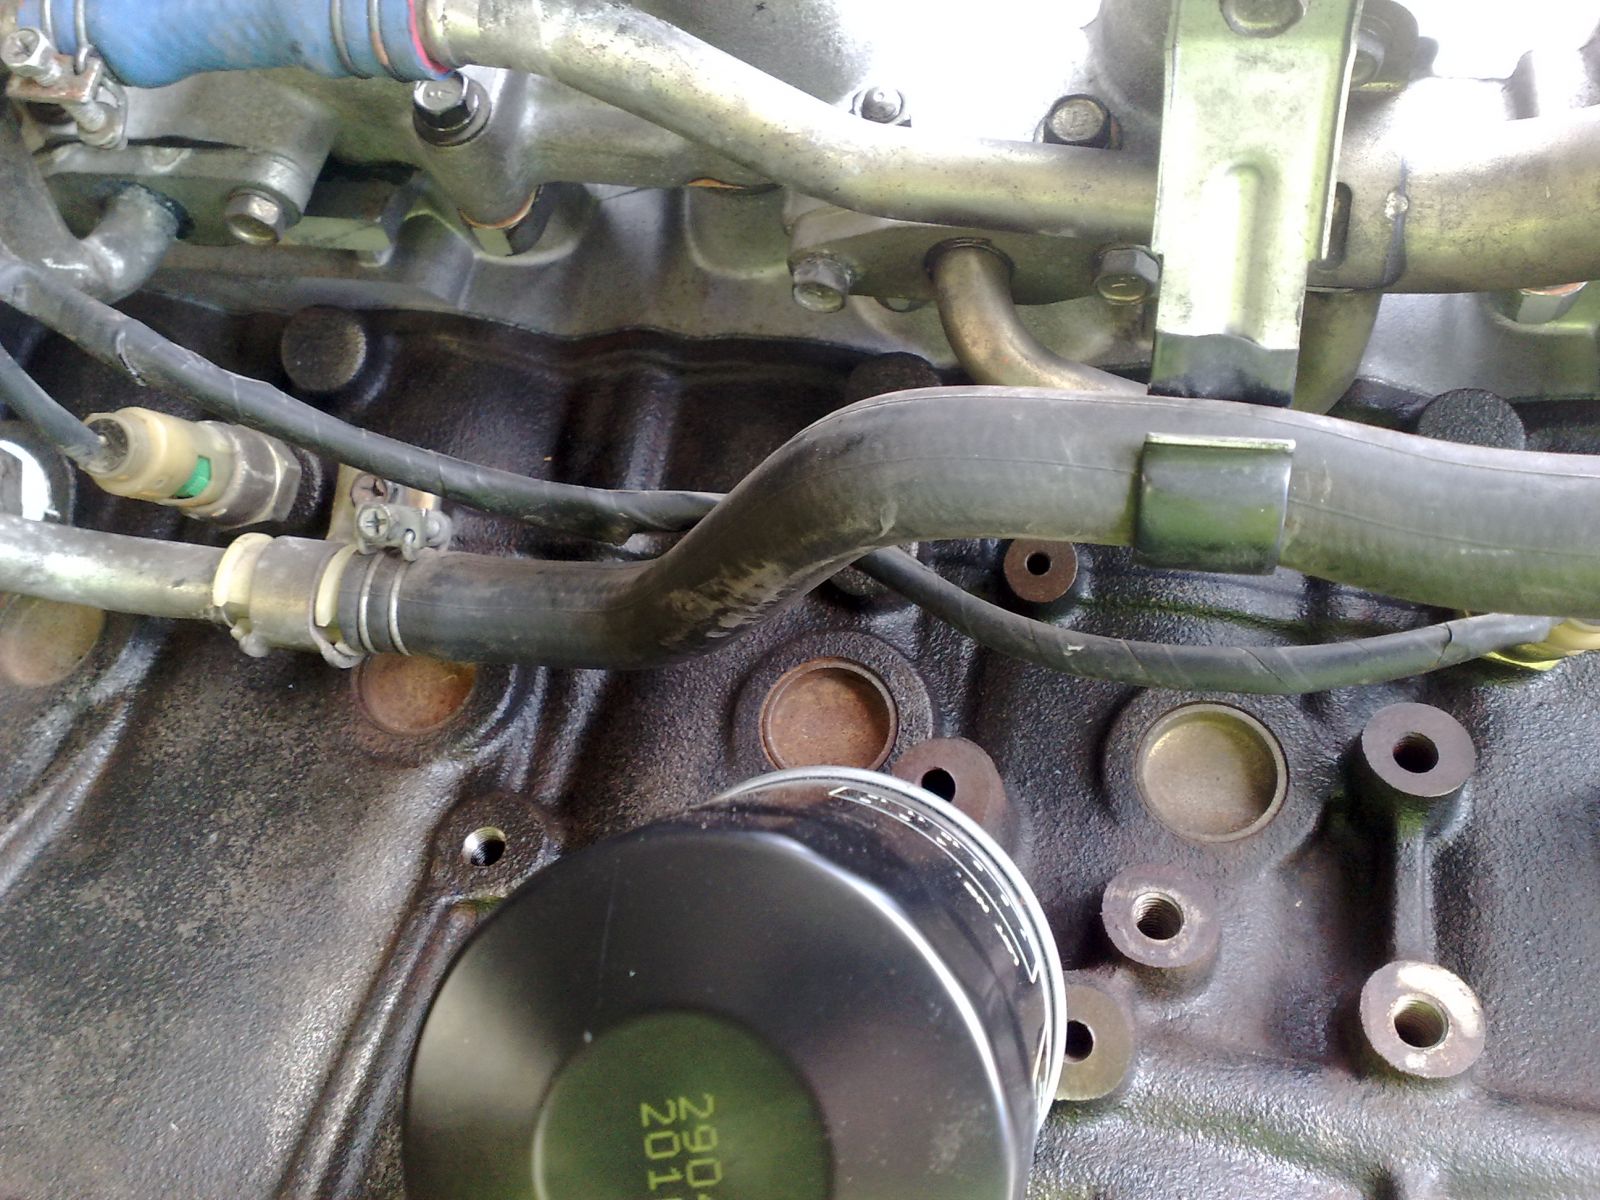
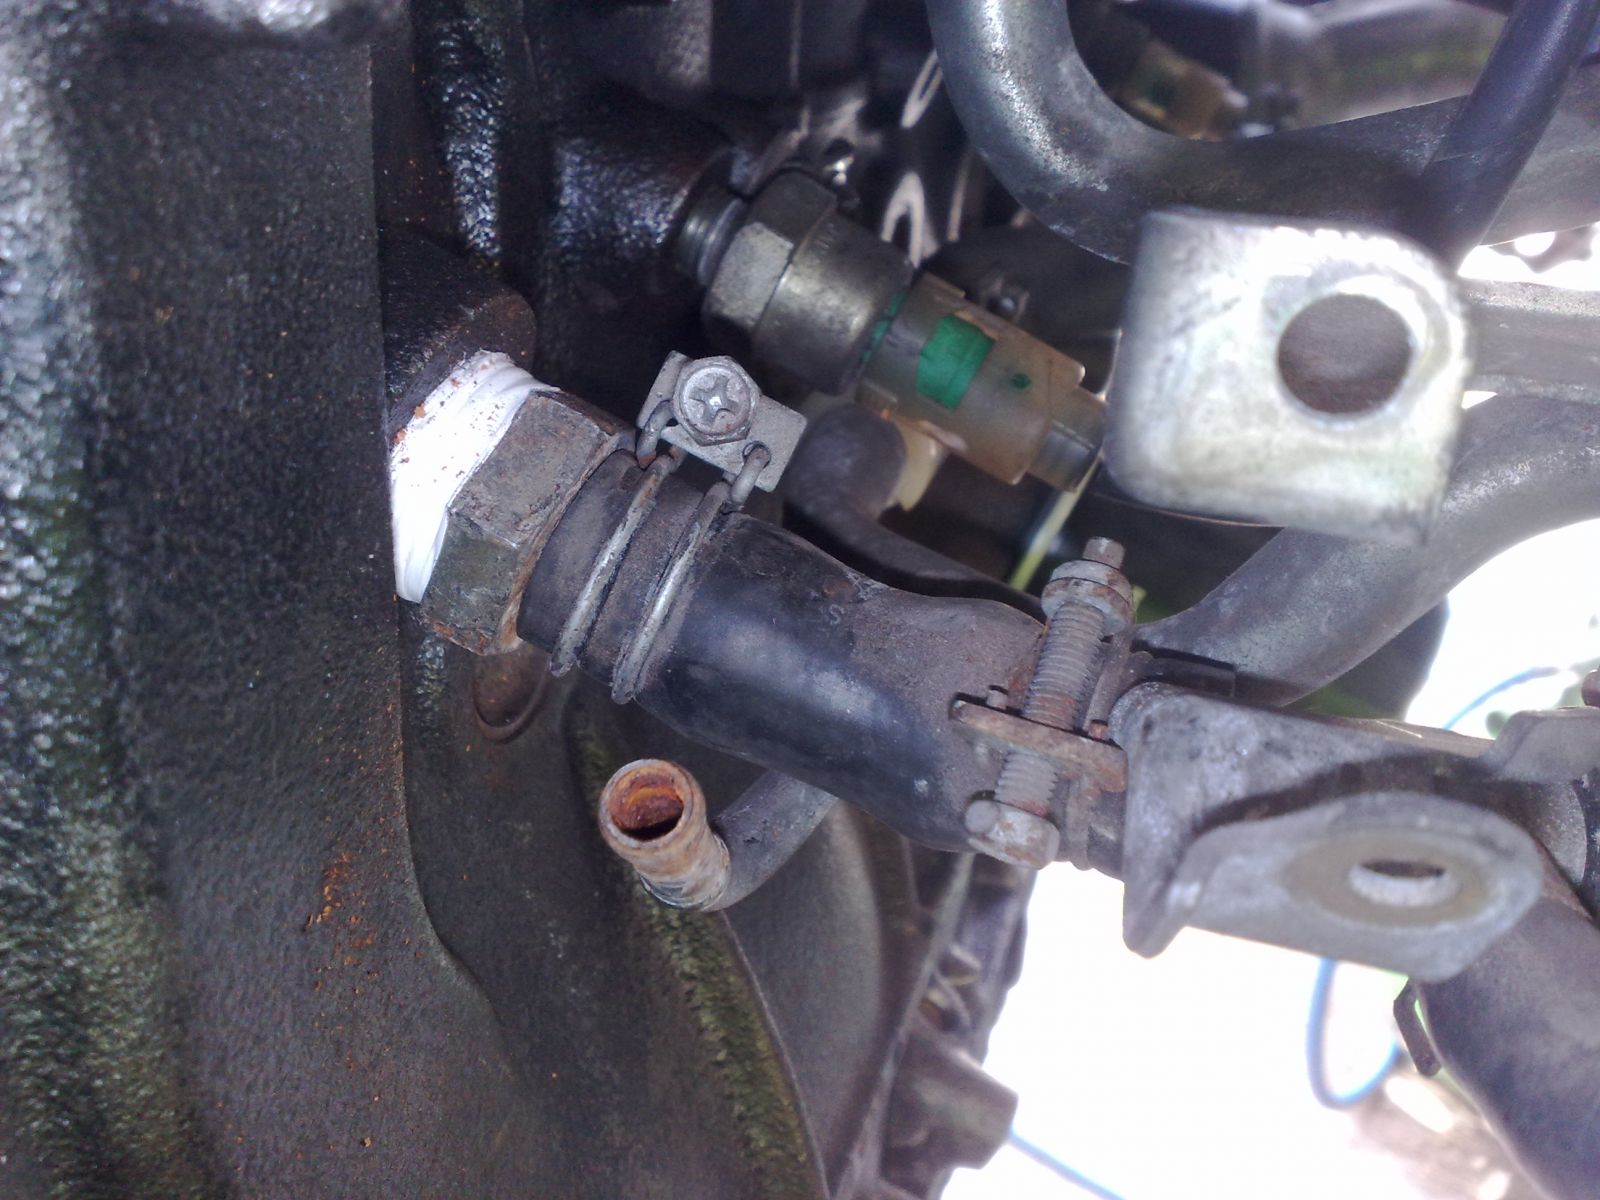
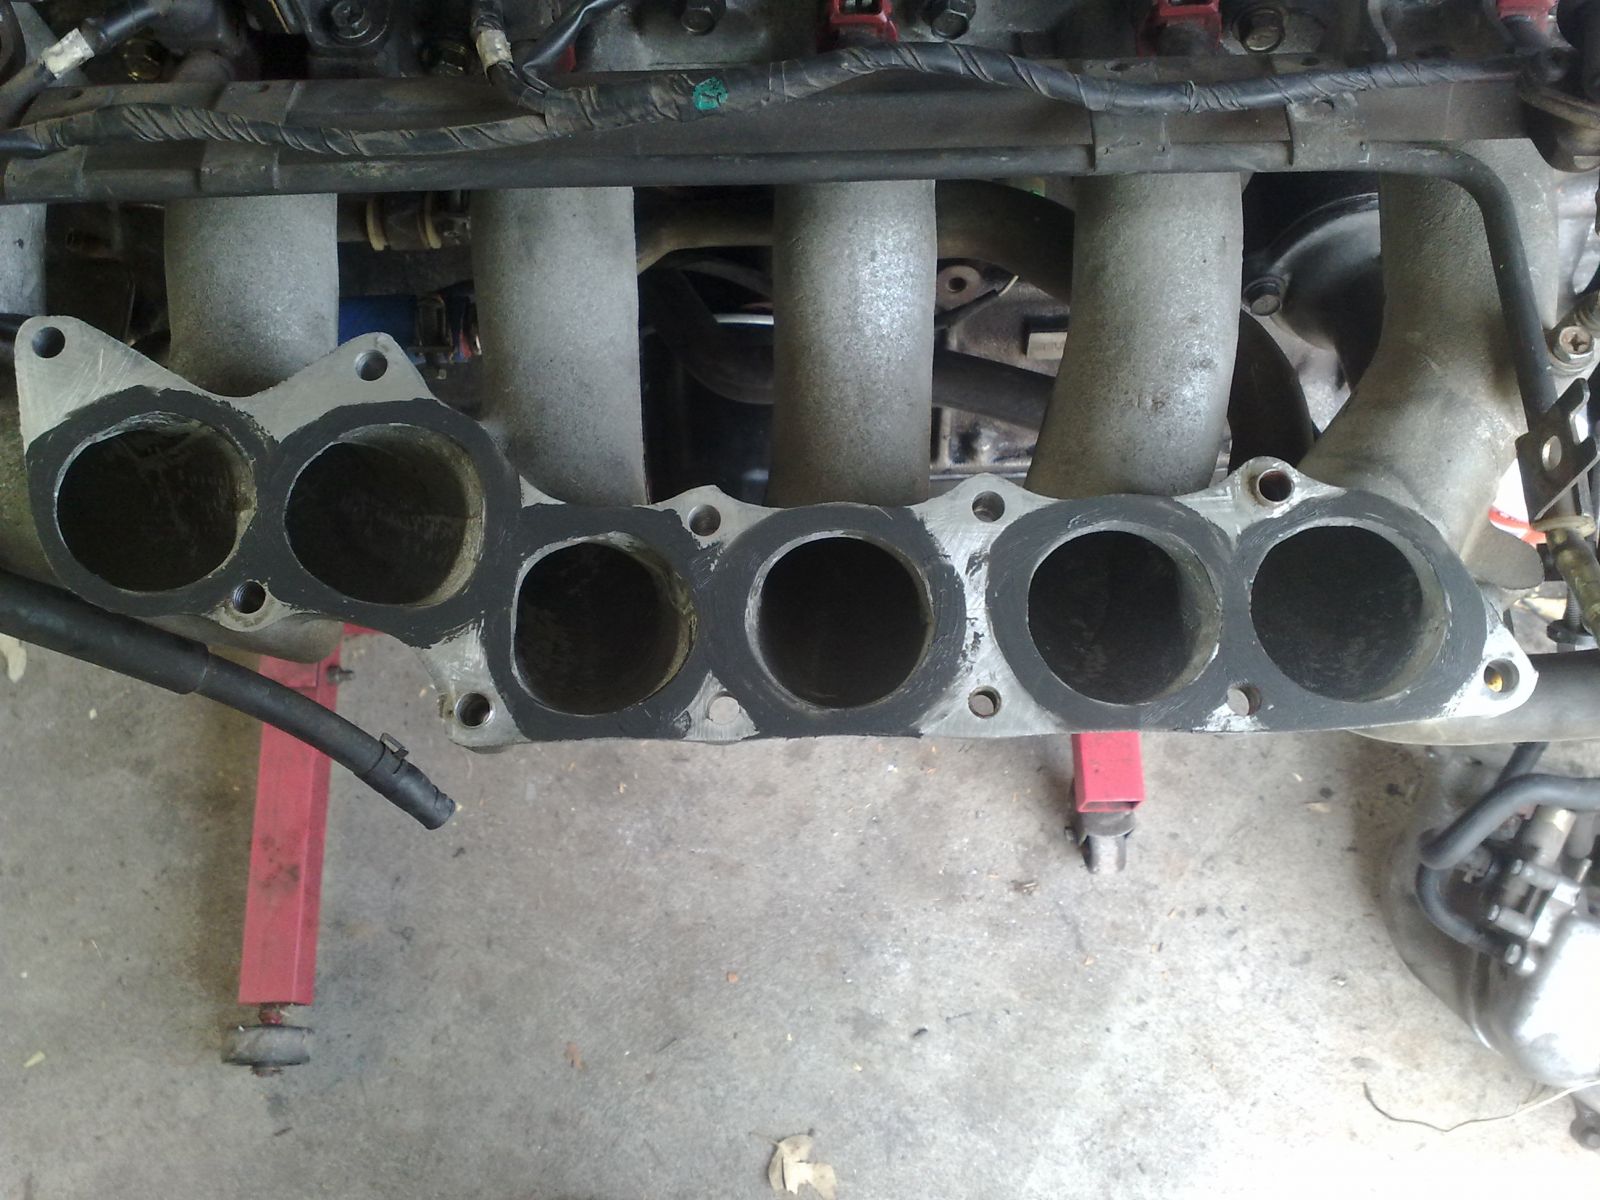
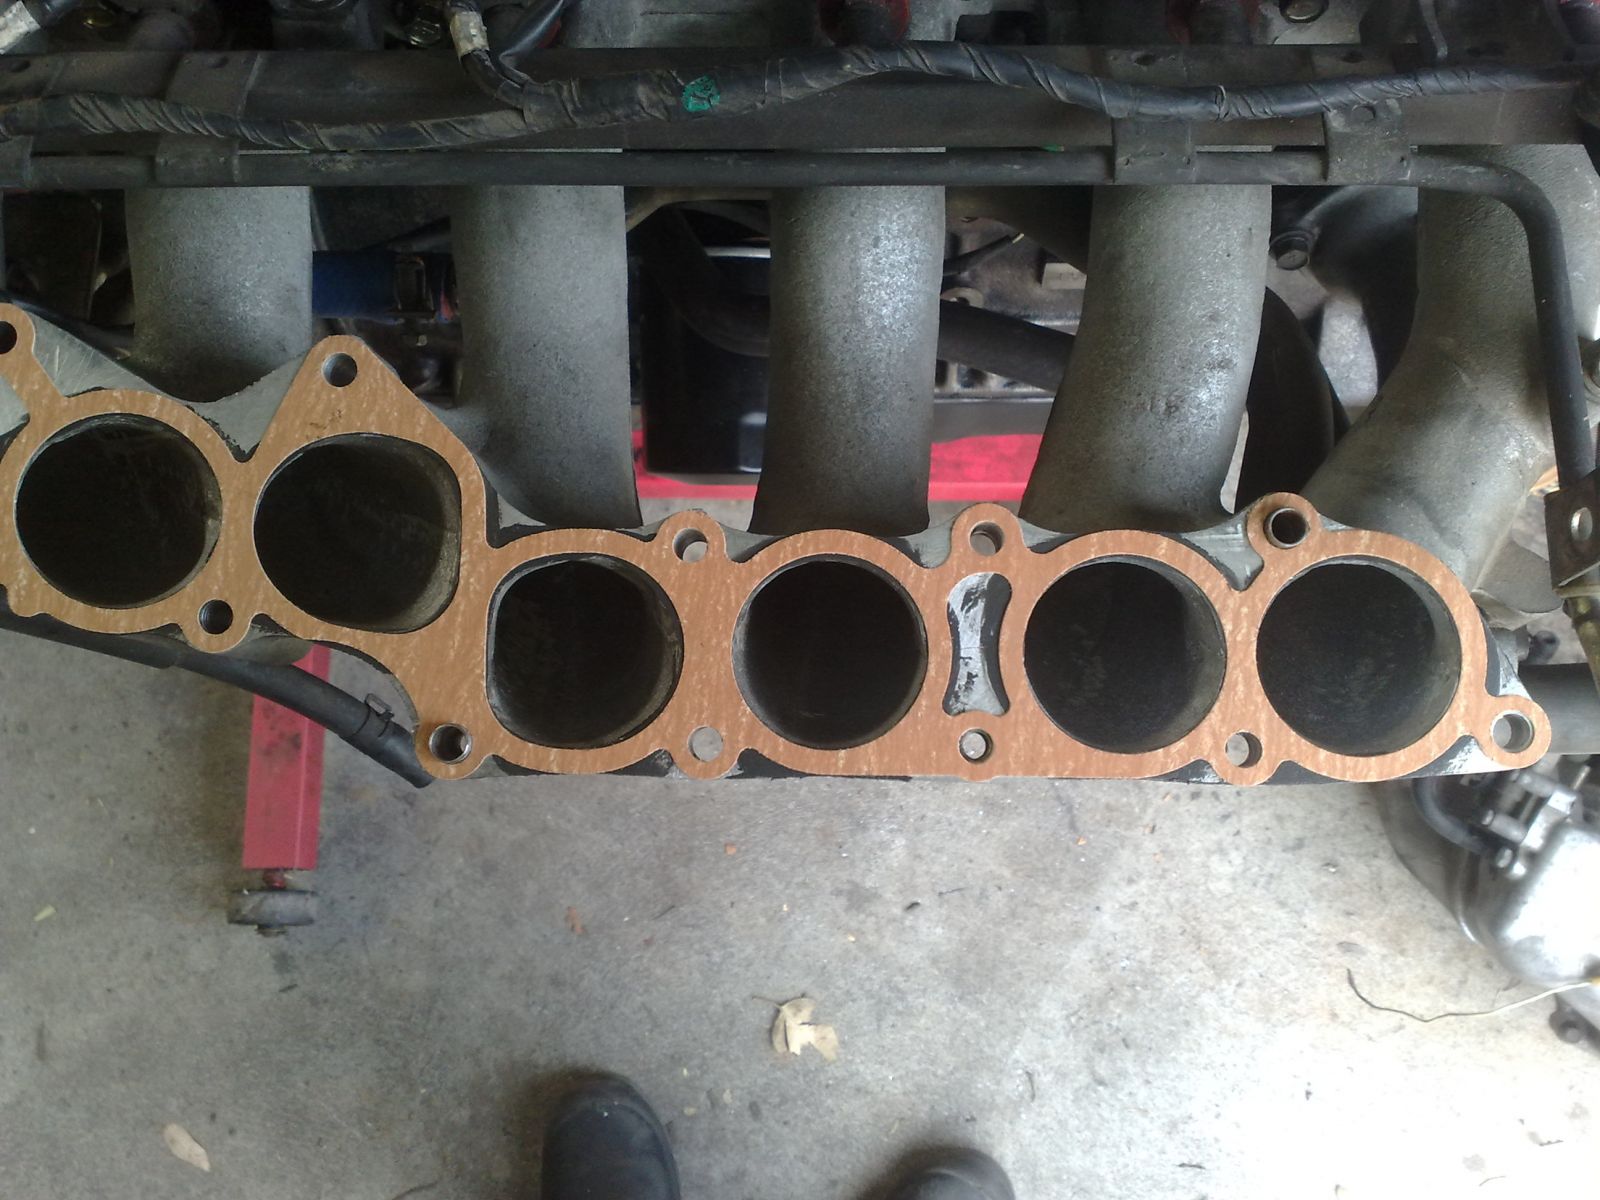
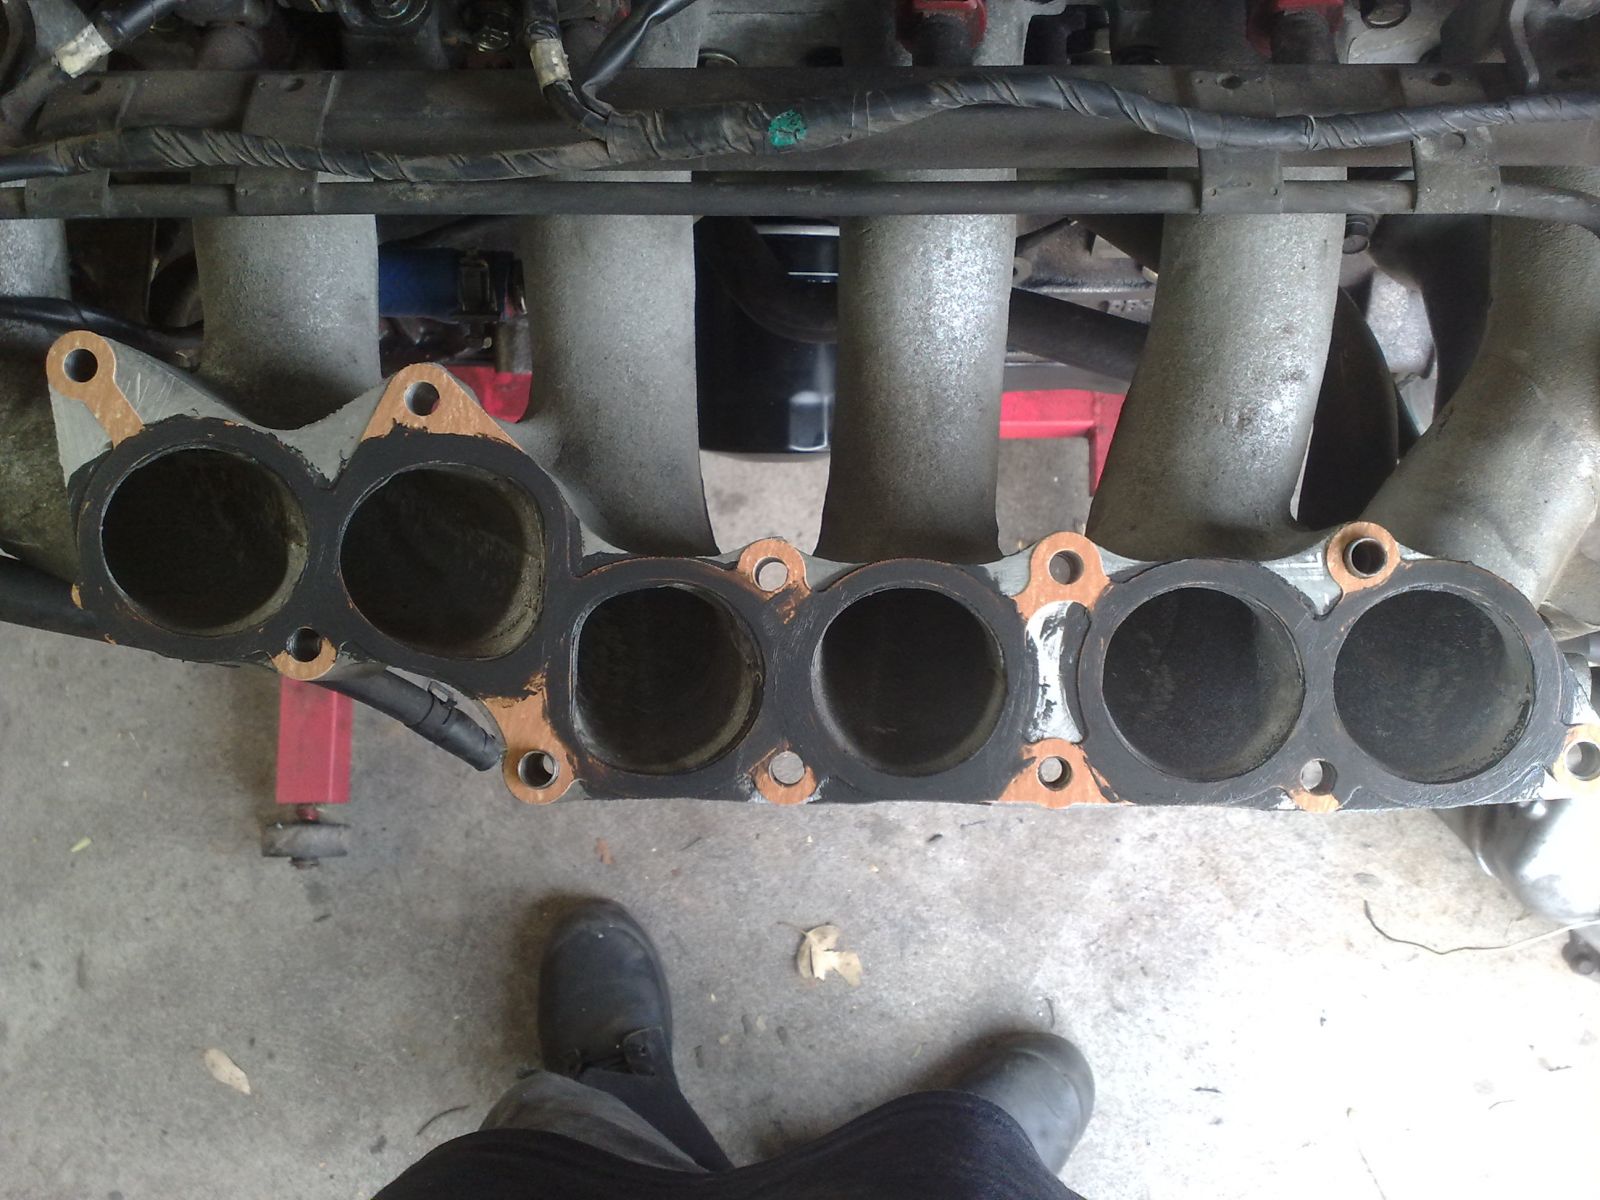
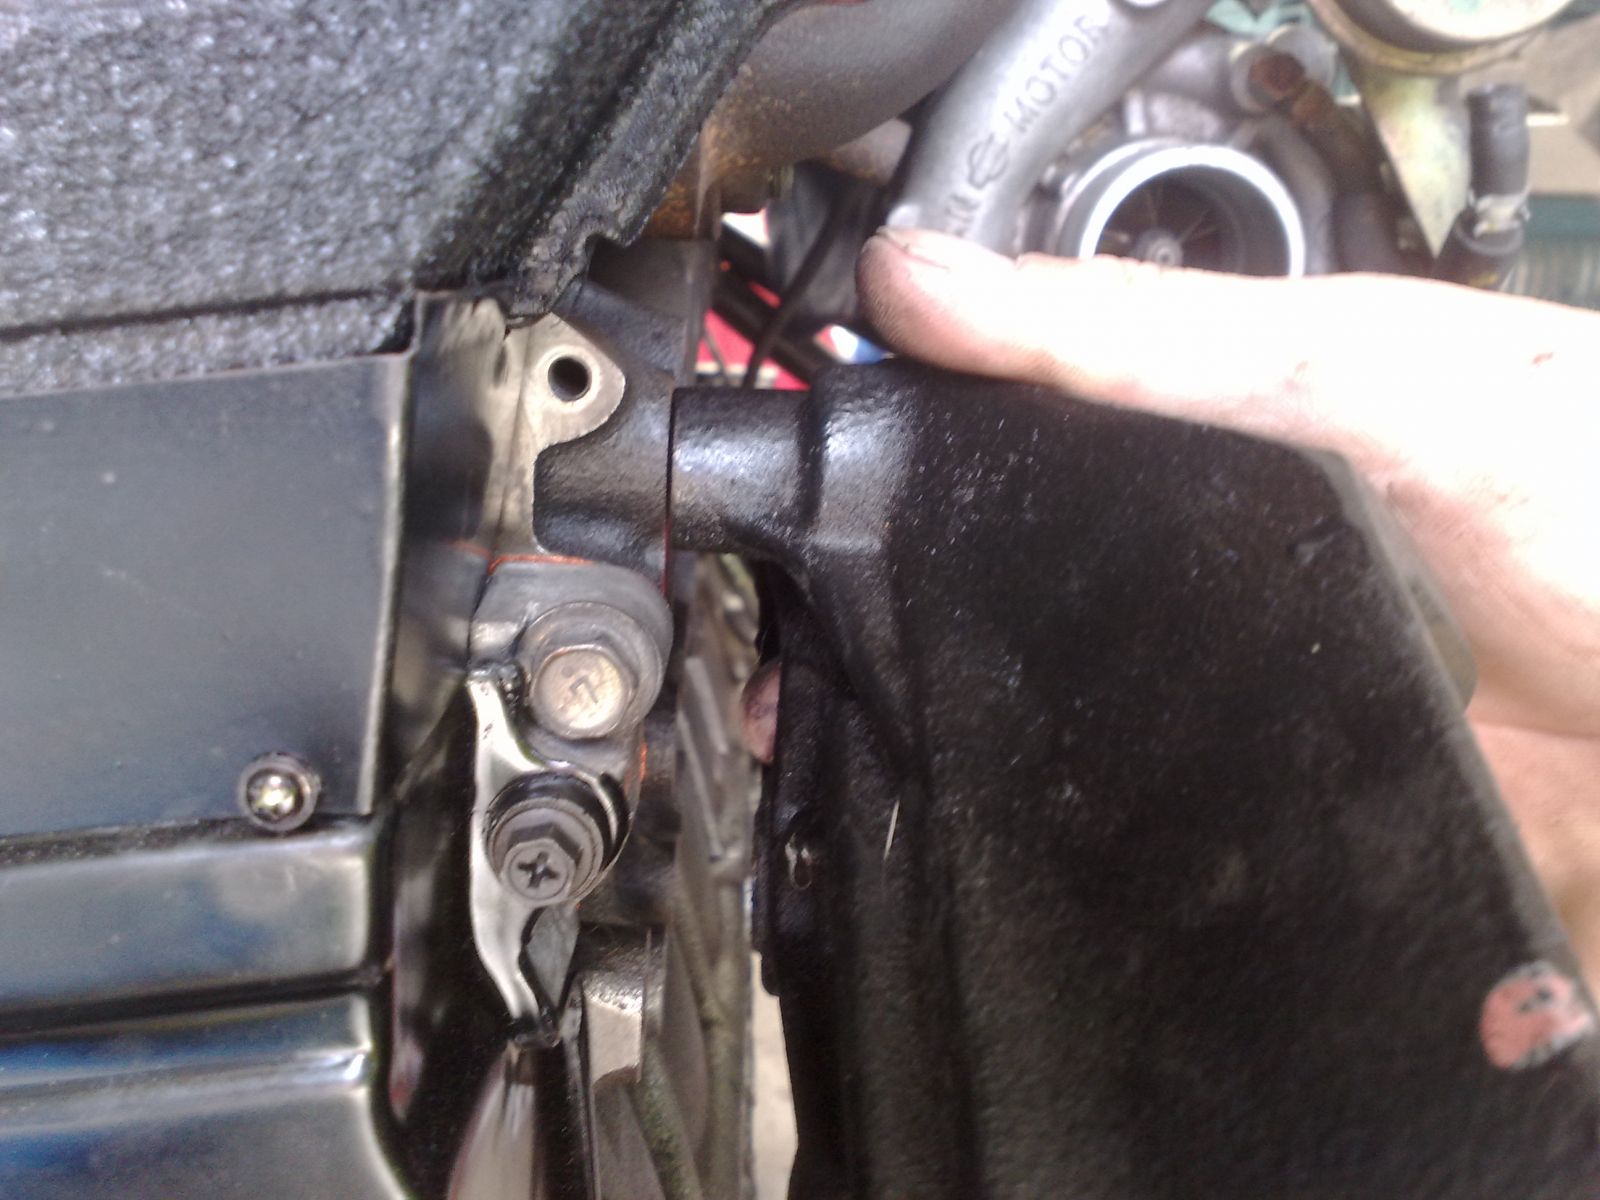
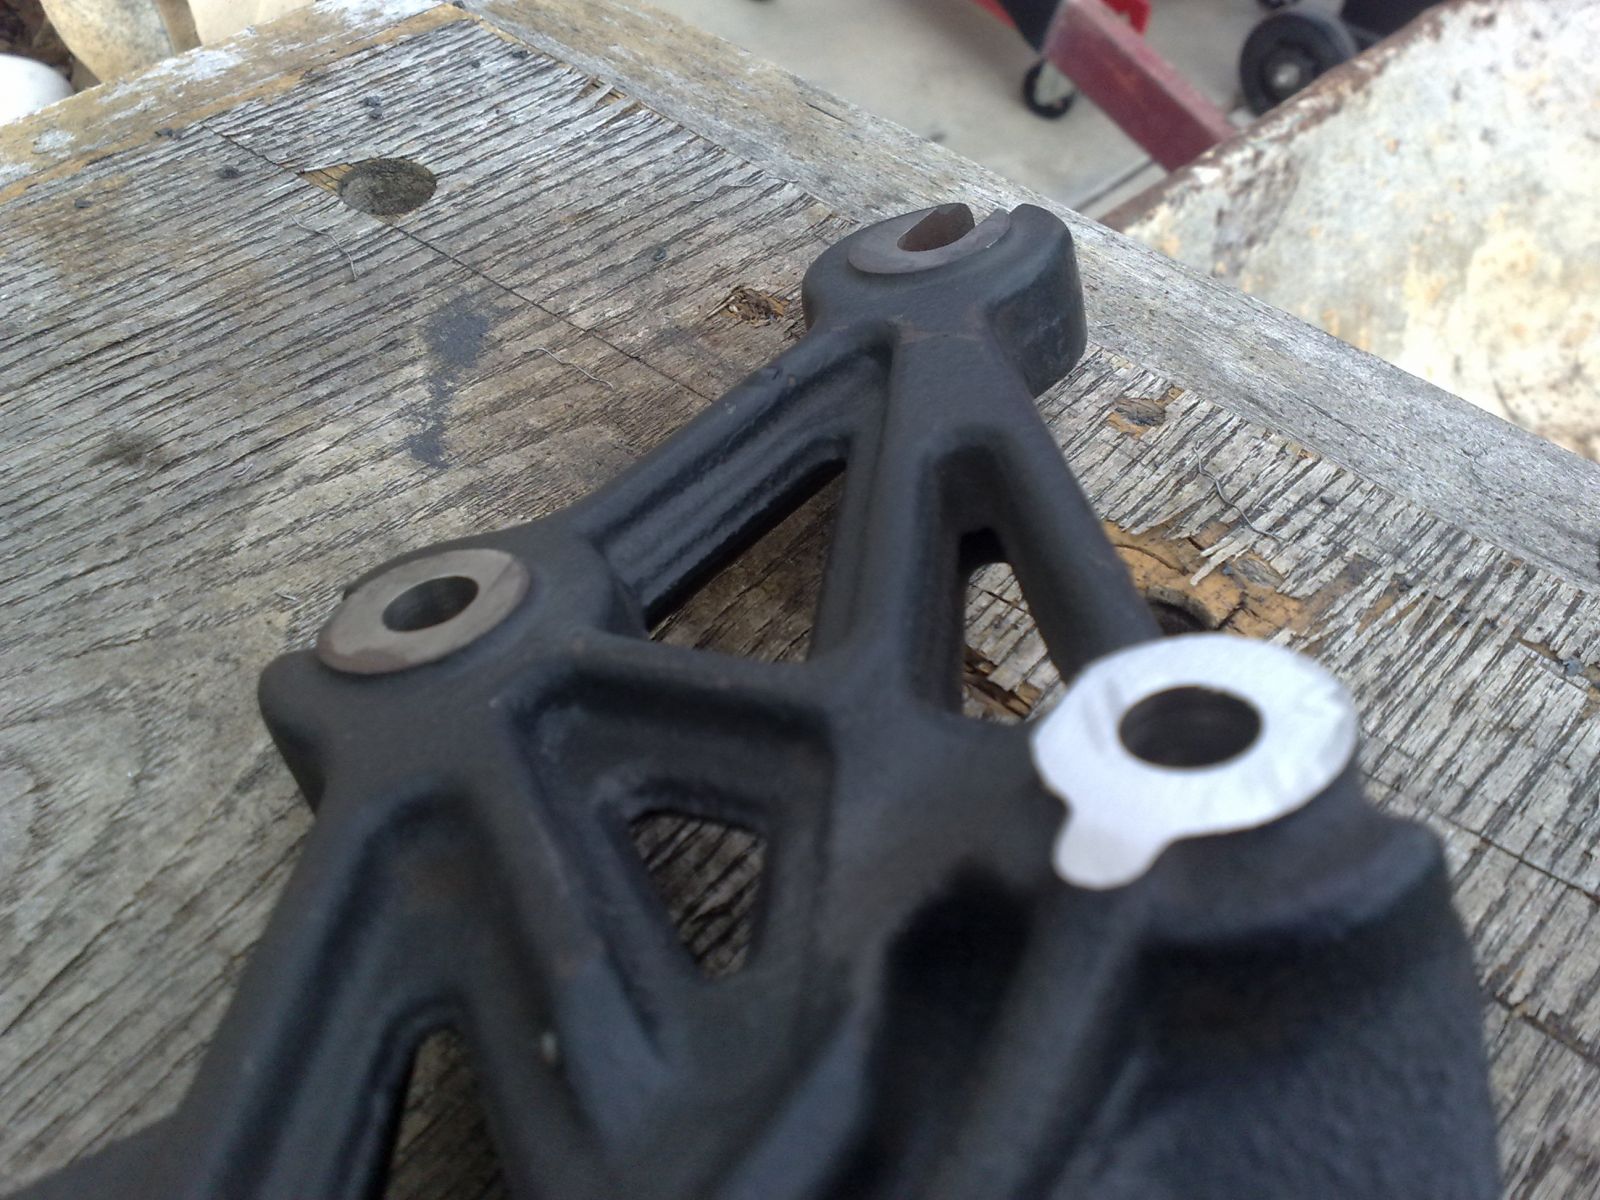
Connect the oil return point to the block. I used some PTFE tape to assist with sealing, but you can use a little gasket sealant to do the job. I believe these are actually tapered, but I’m not in the mood to risk an oil leak for the sake of a little effort.
Download Full Size Image
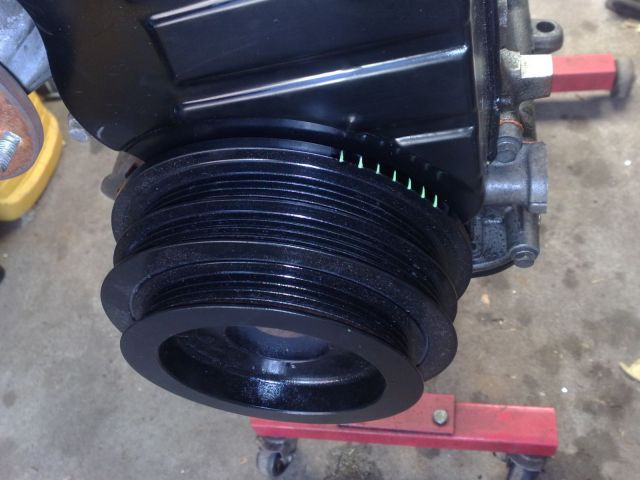
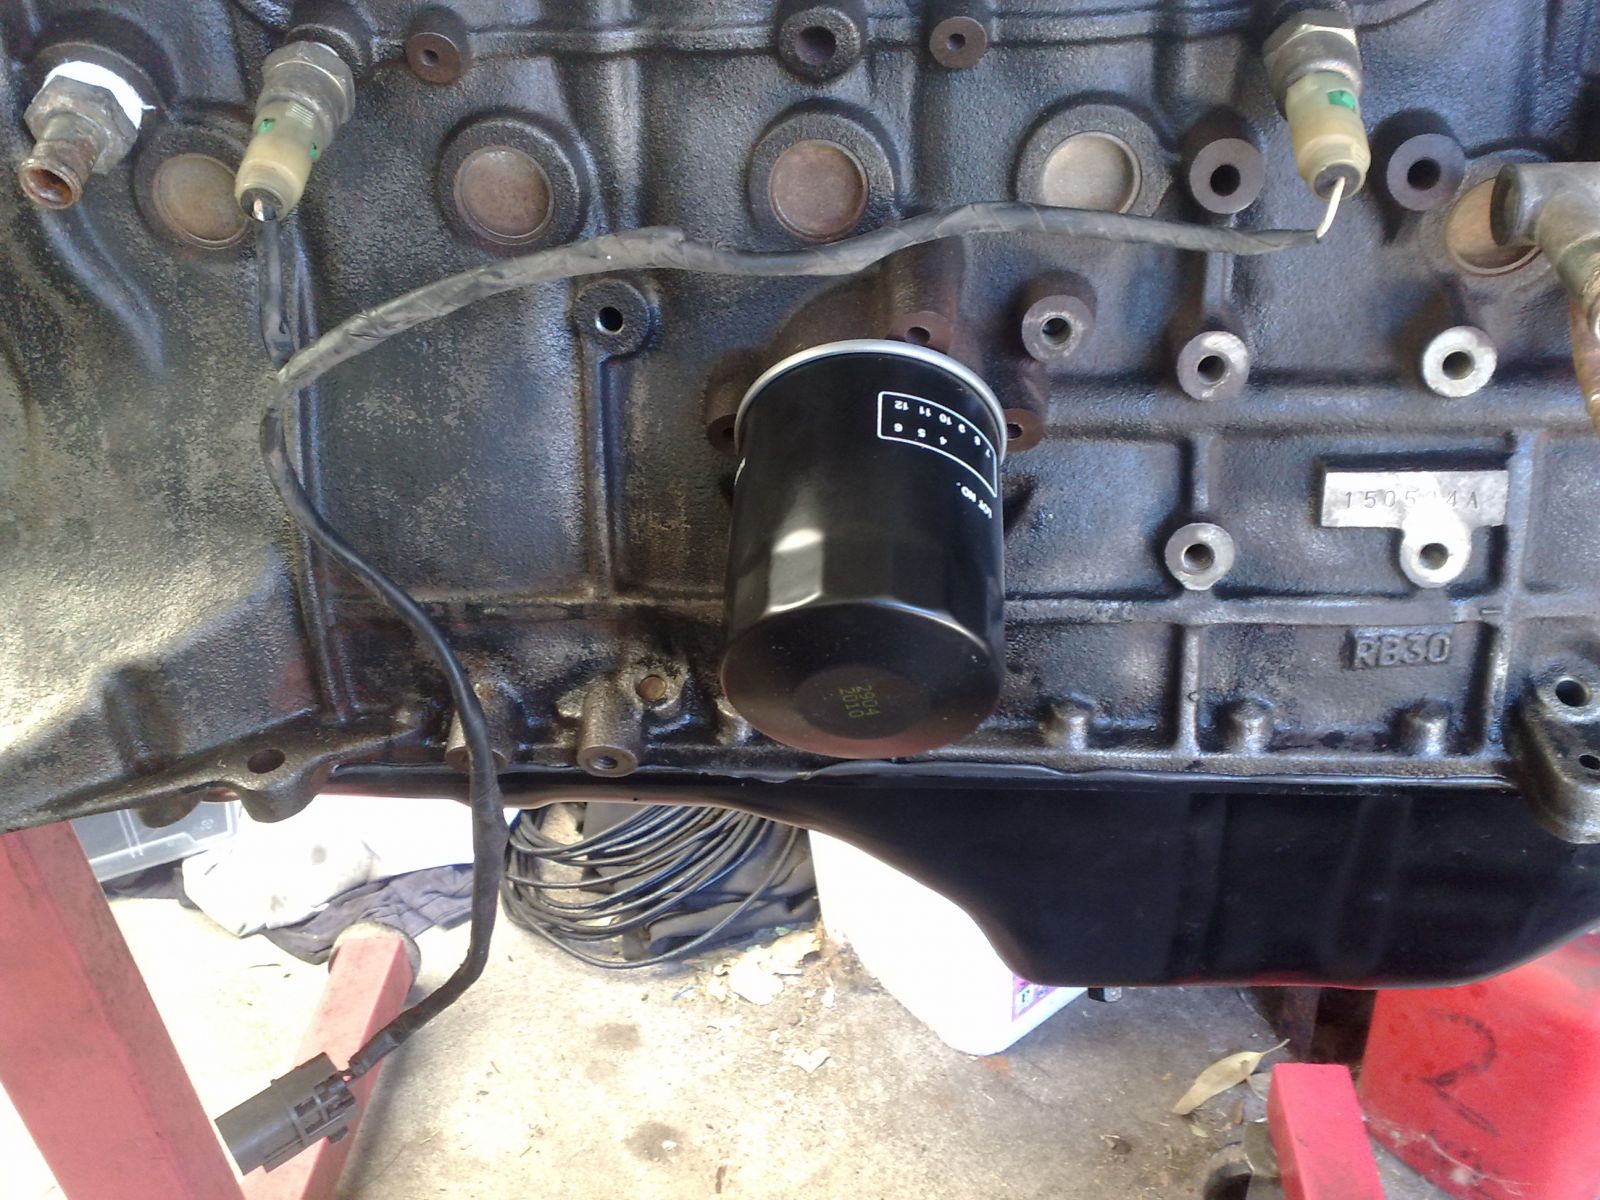
The stock return hose won’t fit now because of the extra height of the block, so I’ll be sourcing a longer piece of hose that already has a bend in it to prevent kinking.
Download Full Size Image


 Back to top


