Sign In
 Create Account

I intended to make this thread awhile ago when I actually first painted my car but I never got around to it. Got loads of time on my hands now so I thought someone might benefit from this if anyone is keen on having a go. This was the first time I had done something of this magnitude and I am quite happy with the way it turned out, so don't be afraid to give it a go if you have the patience. The final product is only as good as the prep work that you put into it.
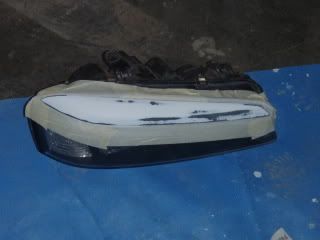
Basically back before I did the conversion on my car I was out on a cruise with some people from a club that shall not be named, and they damaged my bonnet and fenders quite badly. Still some other damage on the car that I would like to fix up like the front bar and other places, will get around to that (will probably respray the whole car eventually). Also decided to respray my eyelids while I was at it.
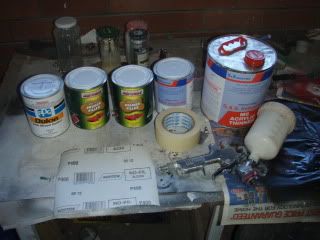
What you will need:
Any paint shop will have what you need, I get my stuff from S&S Industries.
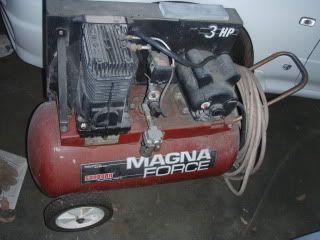
Compressor capable of at least 60psi (Mine is 3hp).
Spray gun
Paint (obviously important to get correct paint code for your car, I bought 5L but only used 3L)
Filler-primer (I bought 4L)
Clear coat (Used about 1.5L)
Thinners (I bought 5L but needed to buy another half liter)
400/600 grade sandpaper (Will need quite a few sheets of the 400, best to get a couple of the 600)
Sanding block (can use any hard flat object, I just used a 15x10 block of wood I had lying around)
Masking tape (try to get the green painters tape, if not then ordinary masking tape will do)
ALOT of newspaper or some throw over sheets.
Cutting compound (not cut and polish!)
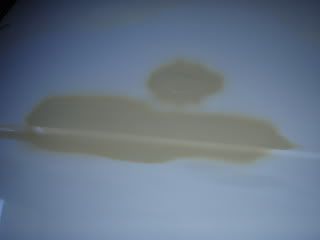
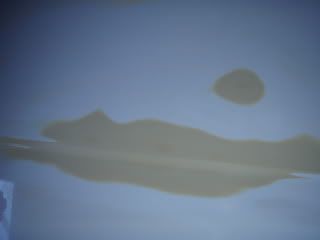
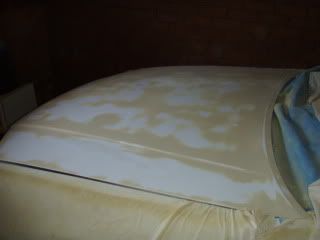
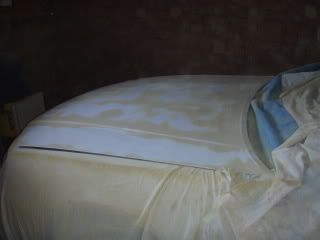
So the first step was identifying the low spots in the bonnet where it had been dented. To do this I used 400 grade sandpaper on a sanding block to rub back the paint, just enough so that the gloss was removed and I was left with a matte-white finish, like this:
You want to avoid rubbing through the paint to the metal as this can create low spots and issues with priming. It's important to use the block when doing this other wise the sandpaper will follow the dents and you won't identify them. You can use a light to make reflections so you can see the dents, but once you have sanded it back this becomes difficult so it is best to use your fingers to feel the low spots.
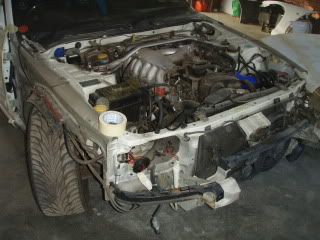
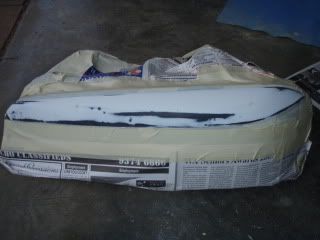
I had 4 large dents in the bonnet that required the most attention, the smaller dents and chips would be fixed later. So once you have identified the main low spots and have roughed them up sufficiently with the sandpaper then it is time to start fixing. This can be done while the panels are on the car, just use the newspaper or throw overs to protect the areas where you don't want to get overspray:
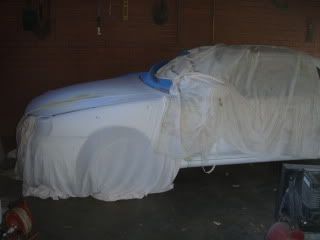
I used a primer-filler to eliminate the need for spraying an extra layer of primer. Make sure you also clean the surface very well, as any dust or dirt on the surface will cause you headaches.
Filler-primer is a good way to learn and practice getting the correct mix between paint and thinners as it is not too critical. If you use too much paint then it will come out grainy, if you use too much thinners then it will run easily and develop 'orange peel'. Just get used to the correct spraying technique, observing how the overspray creates dull spots. You want to hold the gun straight and approx 30mm from the surface you are spraying. Use smooth motions going back and forth from one side of the surface to the other, making sure you get a good layer of filler-primer into the low spots The filler-primer is very forgiving as it doesn't run very easily and it is very soft and easy to rub back so feel free to practice your technique at this stage.
When you are happy and think you have filled the low spot, let the filler-primer dry. Depending on the conditions you are spraying in, this takes about an hour. Once the filler-primer is dry, it's time to rub it back smooth using the 400 grit paper. Be sure to use the sanding block to avoid making low spots in the filler-primer. You want to take off enough to fill the low spot but without creating high spots next to the dent, so use your fingers and hands to make sure it is smooth:
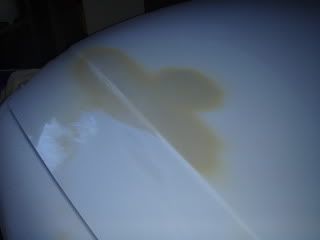
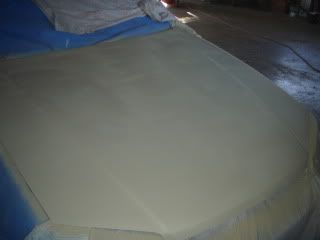
It is important you are happy it is all level as the paint will not hide anything; so check, double-check and check again. This is what mine looked like when I was done:
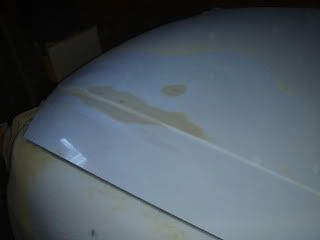
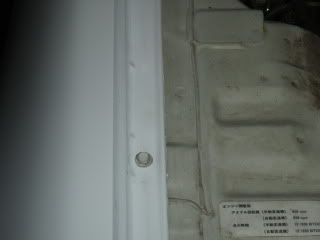
In this photo you can see where I have rubbed to far and started to go through to metal:
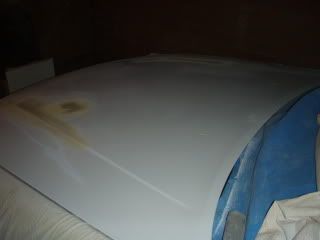
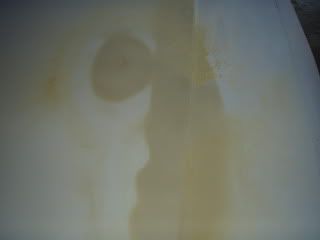
So now that the main low spots have been filled, it is time to repair the smaller dents and chips. This is as simple as completely spraying the panel with the filler primer. Be generous here, giving it a good couple of coats to make sure everything gets filled in. Once you are happy, let the filler-primer dry once again.
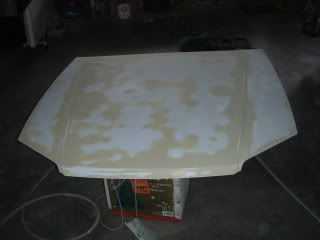
Now for the frustrating side of spray painting; it's time to rub it all off again. Using the 400 grade sandpaper and the sanding block, begin rubbing back the filler-primer. You want to remove as much as you can without removing it from where it is doings it's job in the dents and chips. Be very hands on doing this, it is always easier and more accurate to feel that the finish is smooth rather than trying to look at it. With a lot of hard work, you will eventually end up with something like this:
Congratulations, you have now finished repairing the damage to the panel. Now it's time for the hard part. I removed the panels from the car for this part to make it easier.
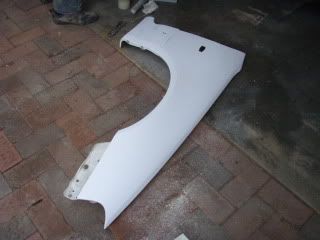
Everything is critical when it comes to applying the paint, so make sure you are very anal (
 ) about getting the correct paint/thinner mixture. I set up a large piece of scrap metal where I could spray the paint mixture to make sure I was getting good consistency. Paint is also very temperamental when it comes to temperatures, I would recommend only spraying in warm dry weather. I actually did this in the middle of winter in the rain, so I used a heater to make sure the panel was at least 22 degrees. The paint didn't like the moisture or cold in the air, so I didn't get as good a finish as I could have, there are some dull spots which just can't be avoided when spraying in these conditions. Remember that if you are using a clear coat then you can't sand back the paint to correct any mistakes so you need to get it perfect.
When you feel you are ready, begin spraying the panel using the technique you have practiced. It makes it easier if you have someone to help you here. Get them to hold a lamp and follow you while you spray, shining the light on the paint. This enables you to watch the reflections of the paint to make sure you are getting a good coat. You want to apply enough paint to get a very nice shiny coat, juuuust before it starts to run. Apply about 5-6 coats of the paint, leaving about 5-10 minutes in between each coat so that the layers chemically bond. If you do get a run or you make a mistake, don't freak out it's not the end of the world, it just means more prep work. If this happens (as it did with me on my first try), finish spraying the panel but try not to get any more runs. If you get it perfect straight out of the gun on your first try then very well done, you can skip the next paragraph and go straight to the clear coat.
If you made a mistake, leave the paint for about 24 hours to harden up a bit. Then it's time to go and fix them again. I used the 600 grade paper for this as the paint was still quite soft. Use the same technique as you did with the filler-primer, using your fingers to feel for any high/low spots and runs instead of trying to see them. You will have to rub back the whole panel so that it is dull again in order for the next layer of paint to bond properly. Once you are happy, attempt spraying the panel again. I nailed it this time and could move onto the clear coat, but make sure you are happy with the finish before you move on.
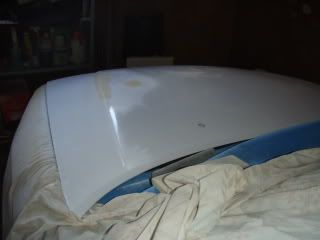
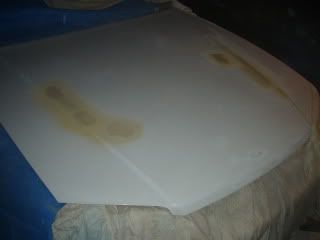
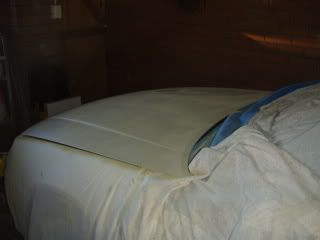
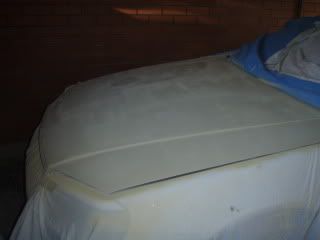
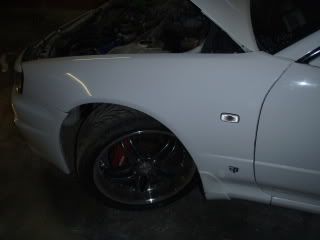
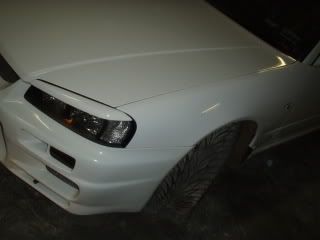
Now that you have the base layer perfect, you have to be quick in cleaning your gun and spraying the clear coat. You have about 15-20 minutes before the paint sets too hard and won't bond properly with the clear coat, so clean your gun quickly (but properly!) and get the mixture of the clear coat and thinners correct. When you are happy, begin spraying the panel with the same technique as you used for the paint. Be very careful here as clear coat has a tendency to run very easily, as I discovered the hard way. Again, build up a number of coats; I gave it 6-7 to be safe and make sure I didn't rub through it when it came to buffing it. When you are happy, leave the panel to dry for 24-36 hours. This is how mine looked after drying and refitting (you can see in the reflections the dull spots from overspray that required buffing):

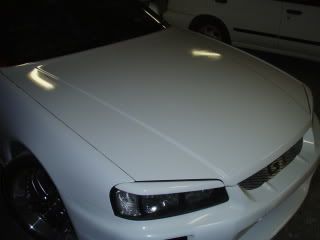

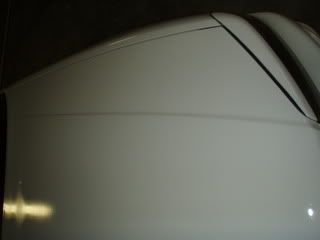
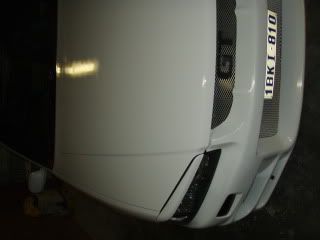
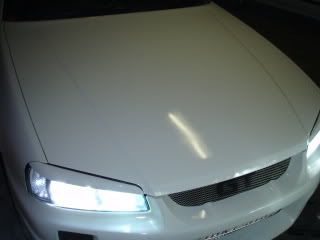
You are almost done! It is now time to buff the paint to a brilliant finish. You can skip this step if you like, but don't underestimate the difference in quality between an unbuffed finish and one that has been buffed to perfection. Using an applicator pad, begin buffing the paint with the cutting compound in a circular motion. You really want to put a lot of energy into this, by the time I was finished I felt like I had run a marathon and could barely lift my arms. Be sure to do the whole panel, paying special attention to dull areas caused by overspray and runs in the clear coat. Buff off the cutting compound with a soft cloth and inspect the finish. This process took me about 16 hours of solid buffing to get the finish that I wanted, so don't be afraid to get into it and do it a number of times. You can really feel the difference in the paint once you have buffed it enough, and it starts to squeak when you polish it. It is up to you when you are happy with the finish, so keep going until you are satisfied. This is my final product (most photo's courtesy of RM Photography
 ):
):


Do not apply wax or any polishes to the paint for about 30 days as this can cause chemical reactions and it would be a real shame to have all your hard work go to waste by having your paint bubble and peel off. Congratulations, you have now repaired and repainted your panels!
Thanks for reading and feel free to ask any questions

 Back to top